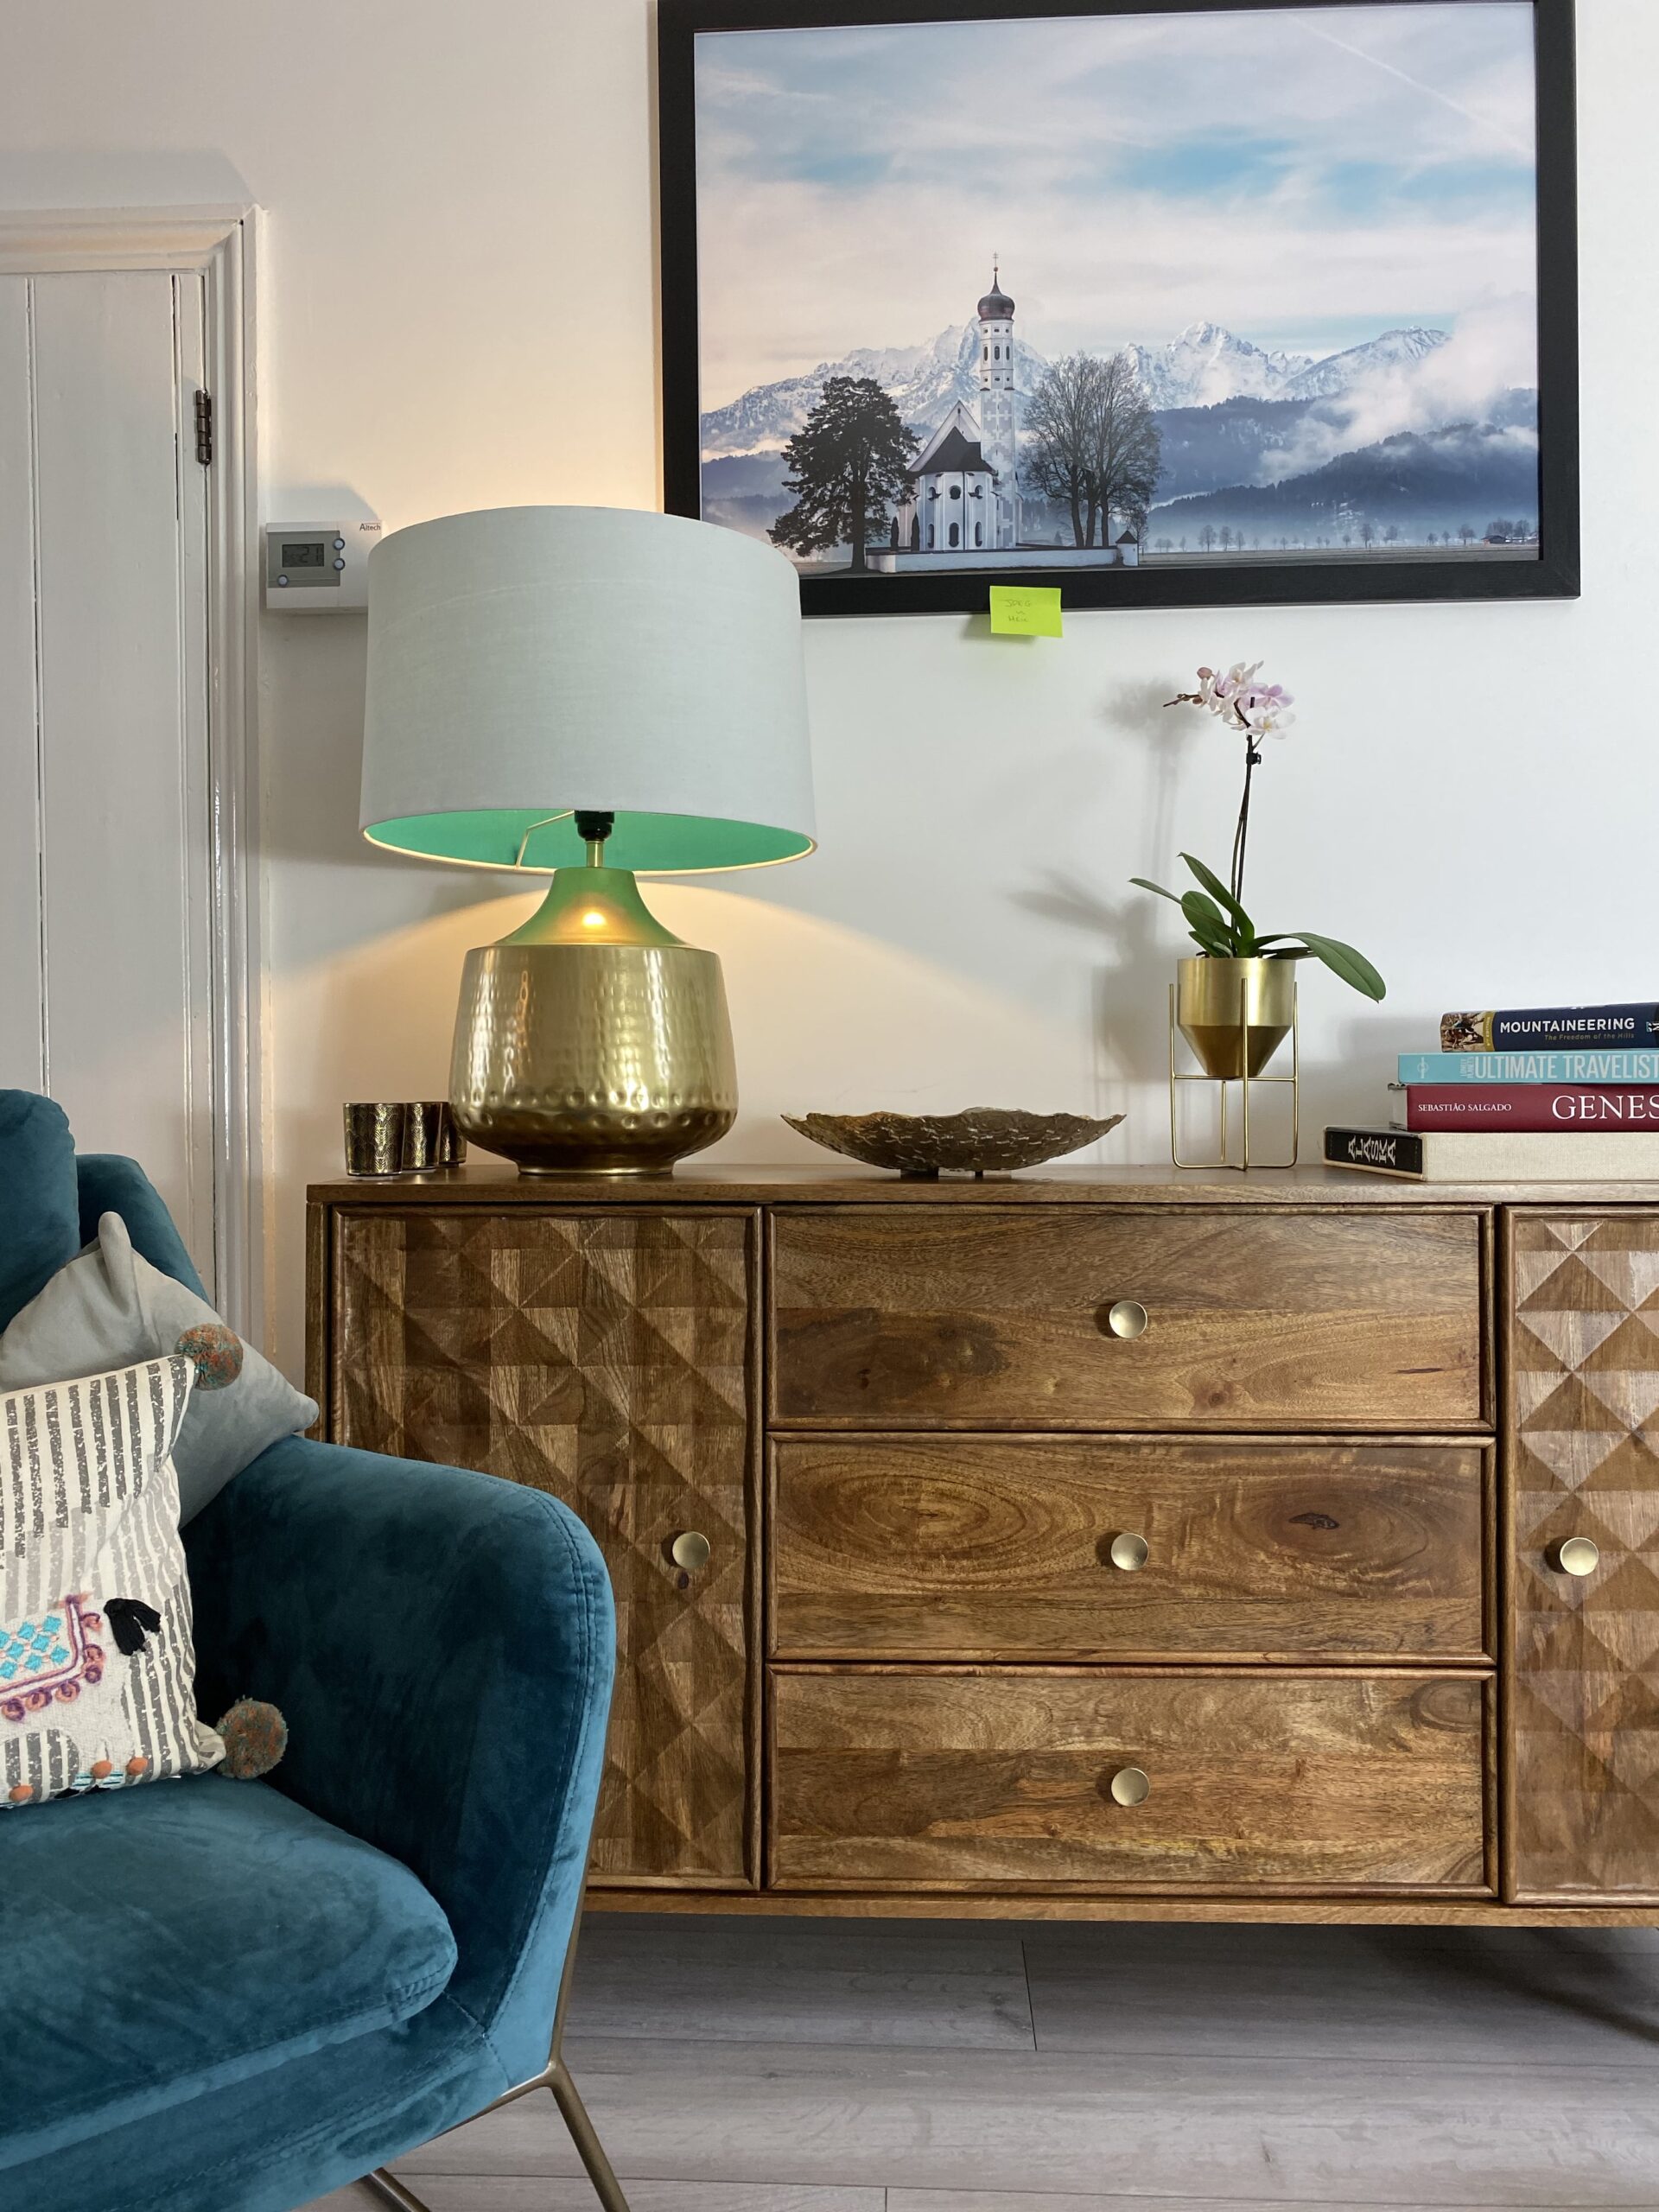
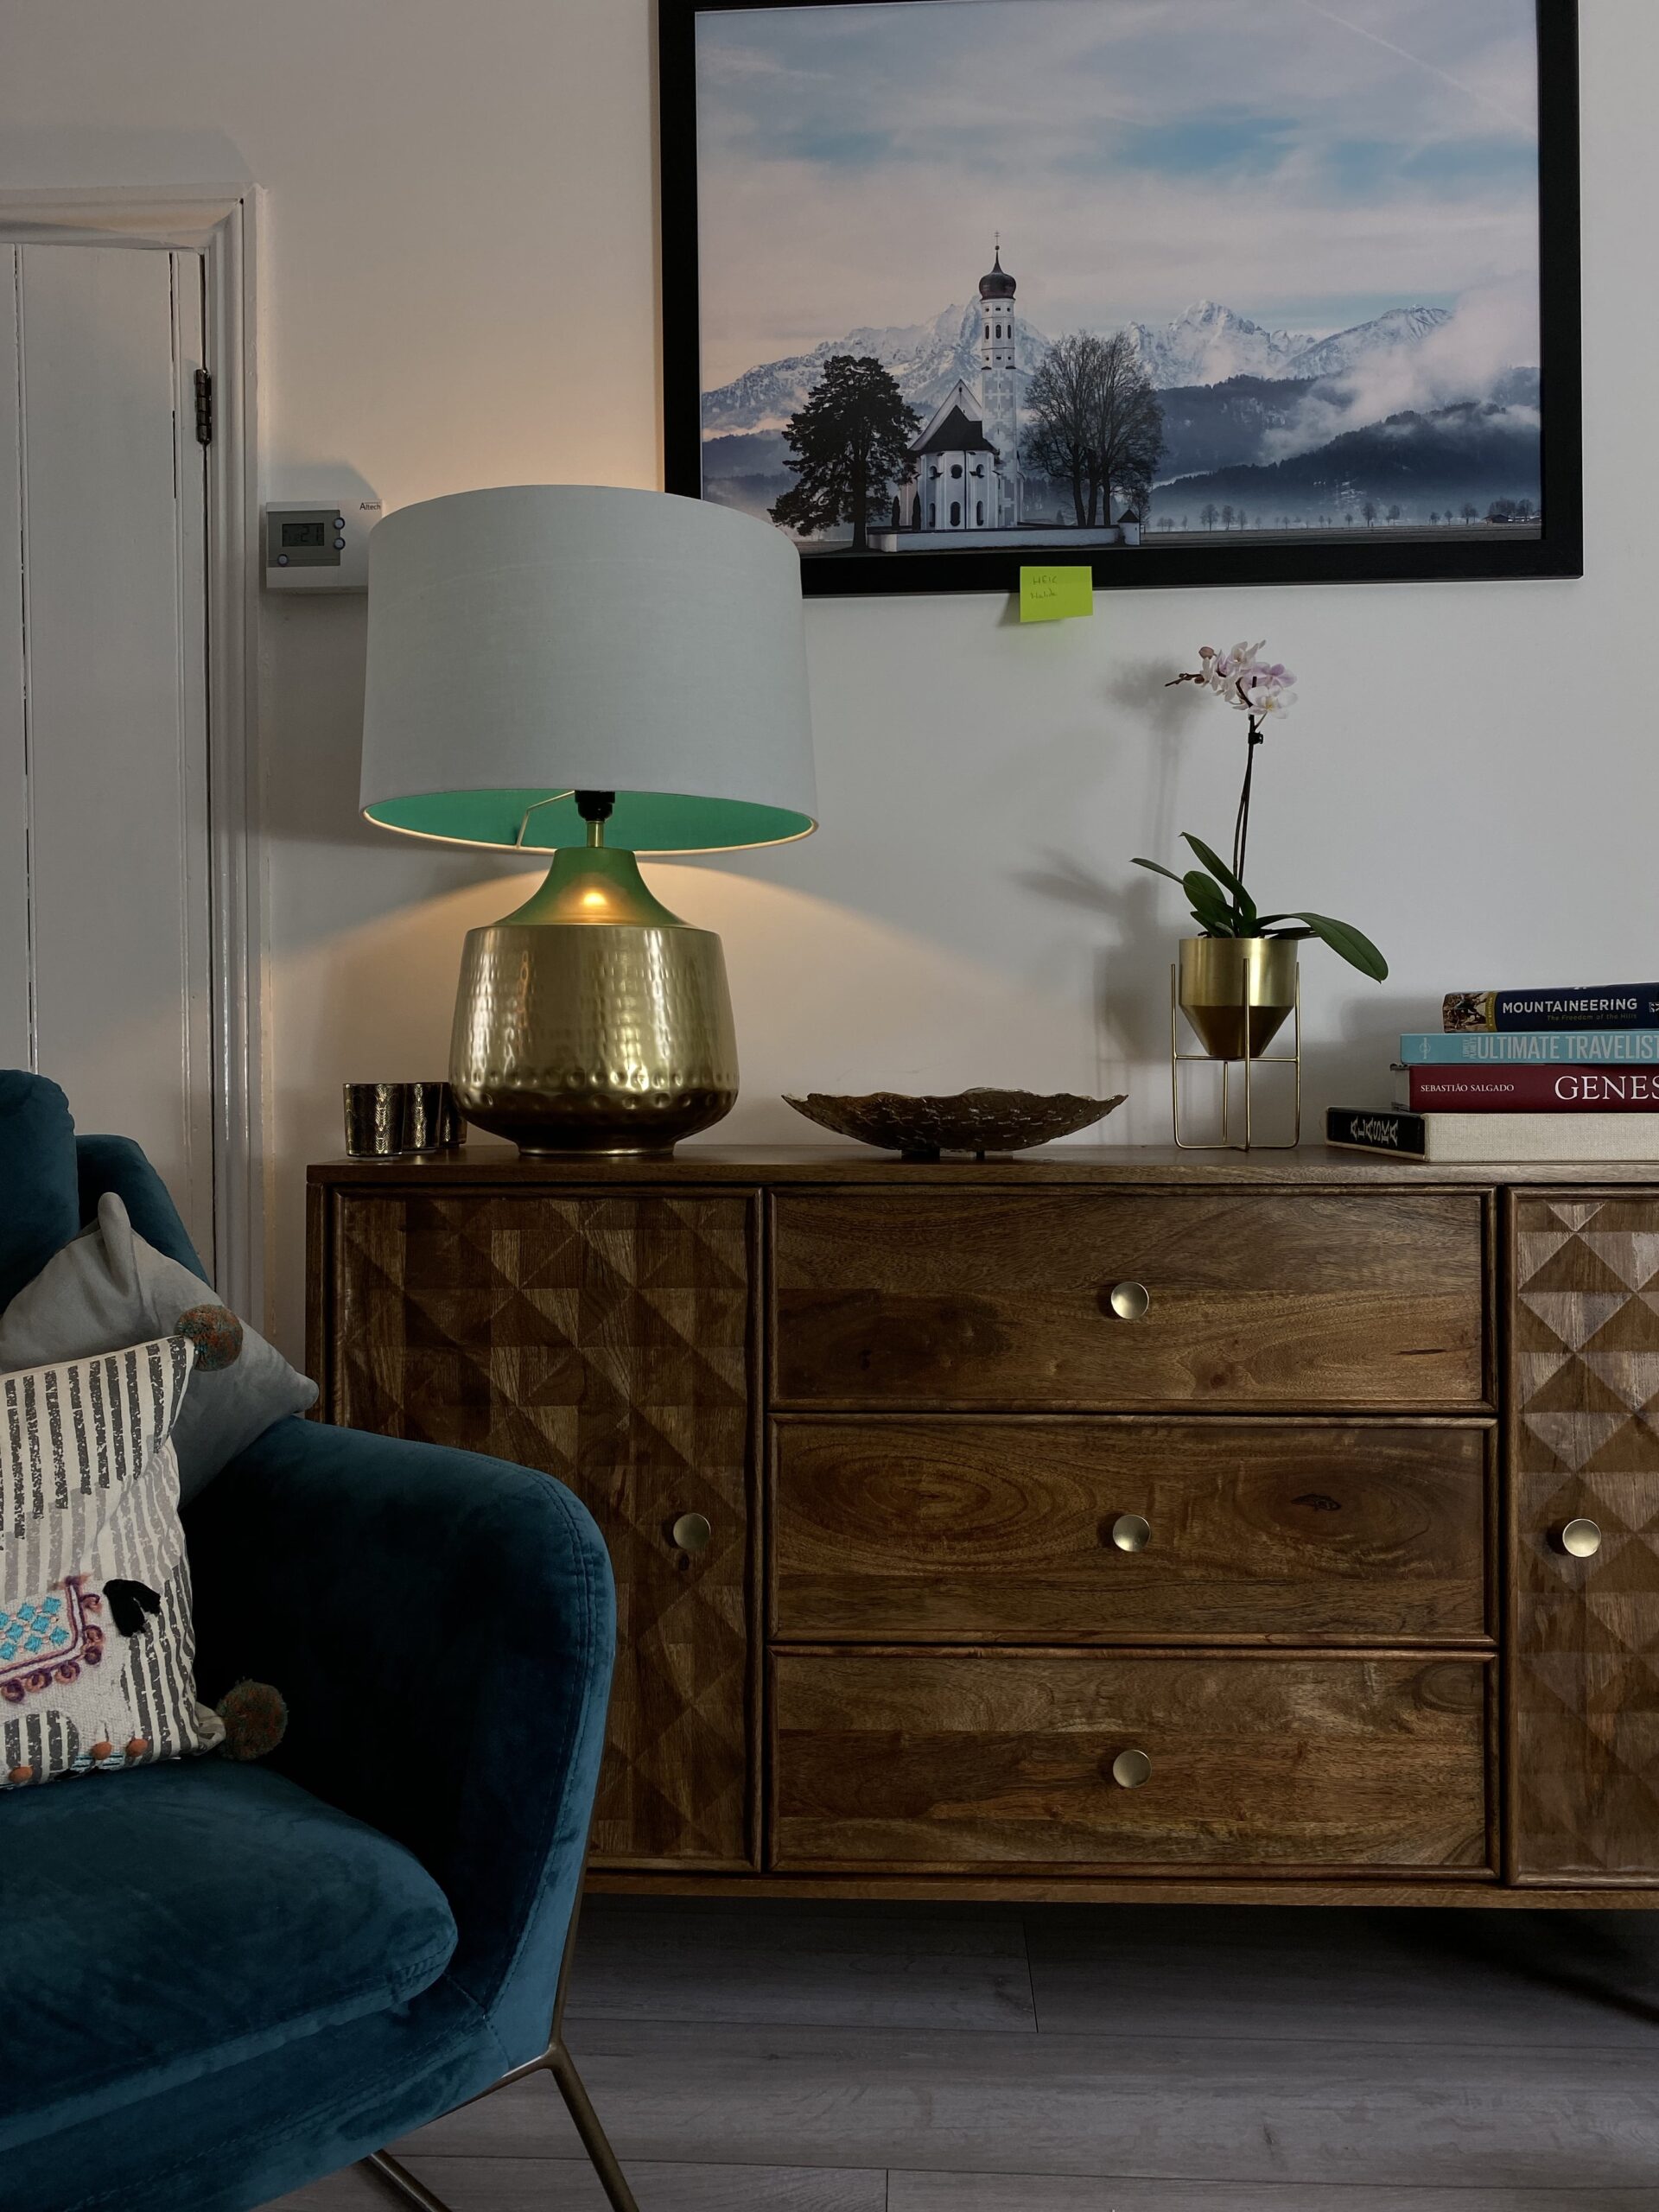
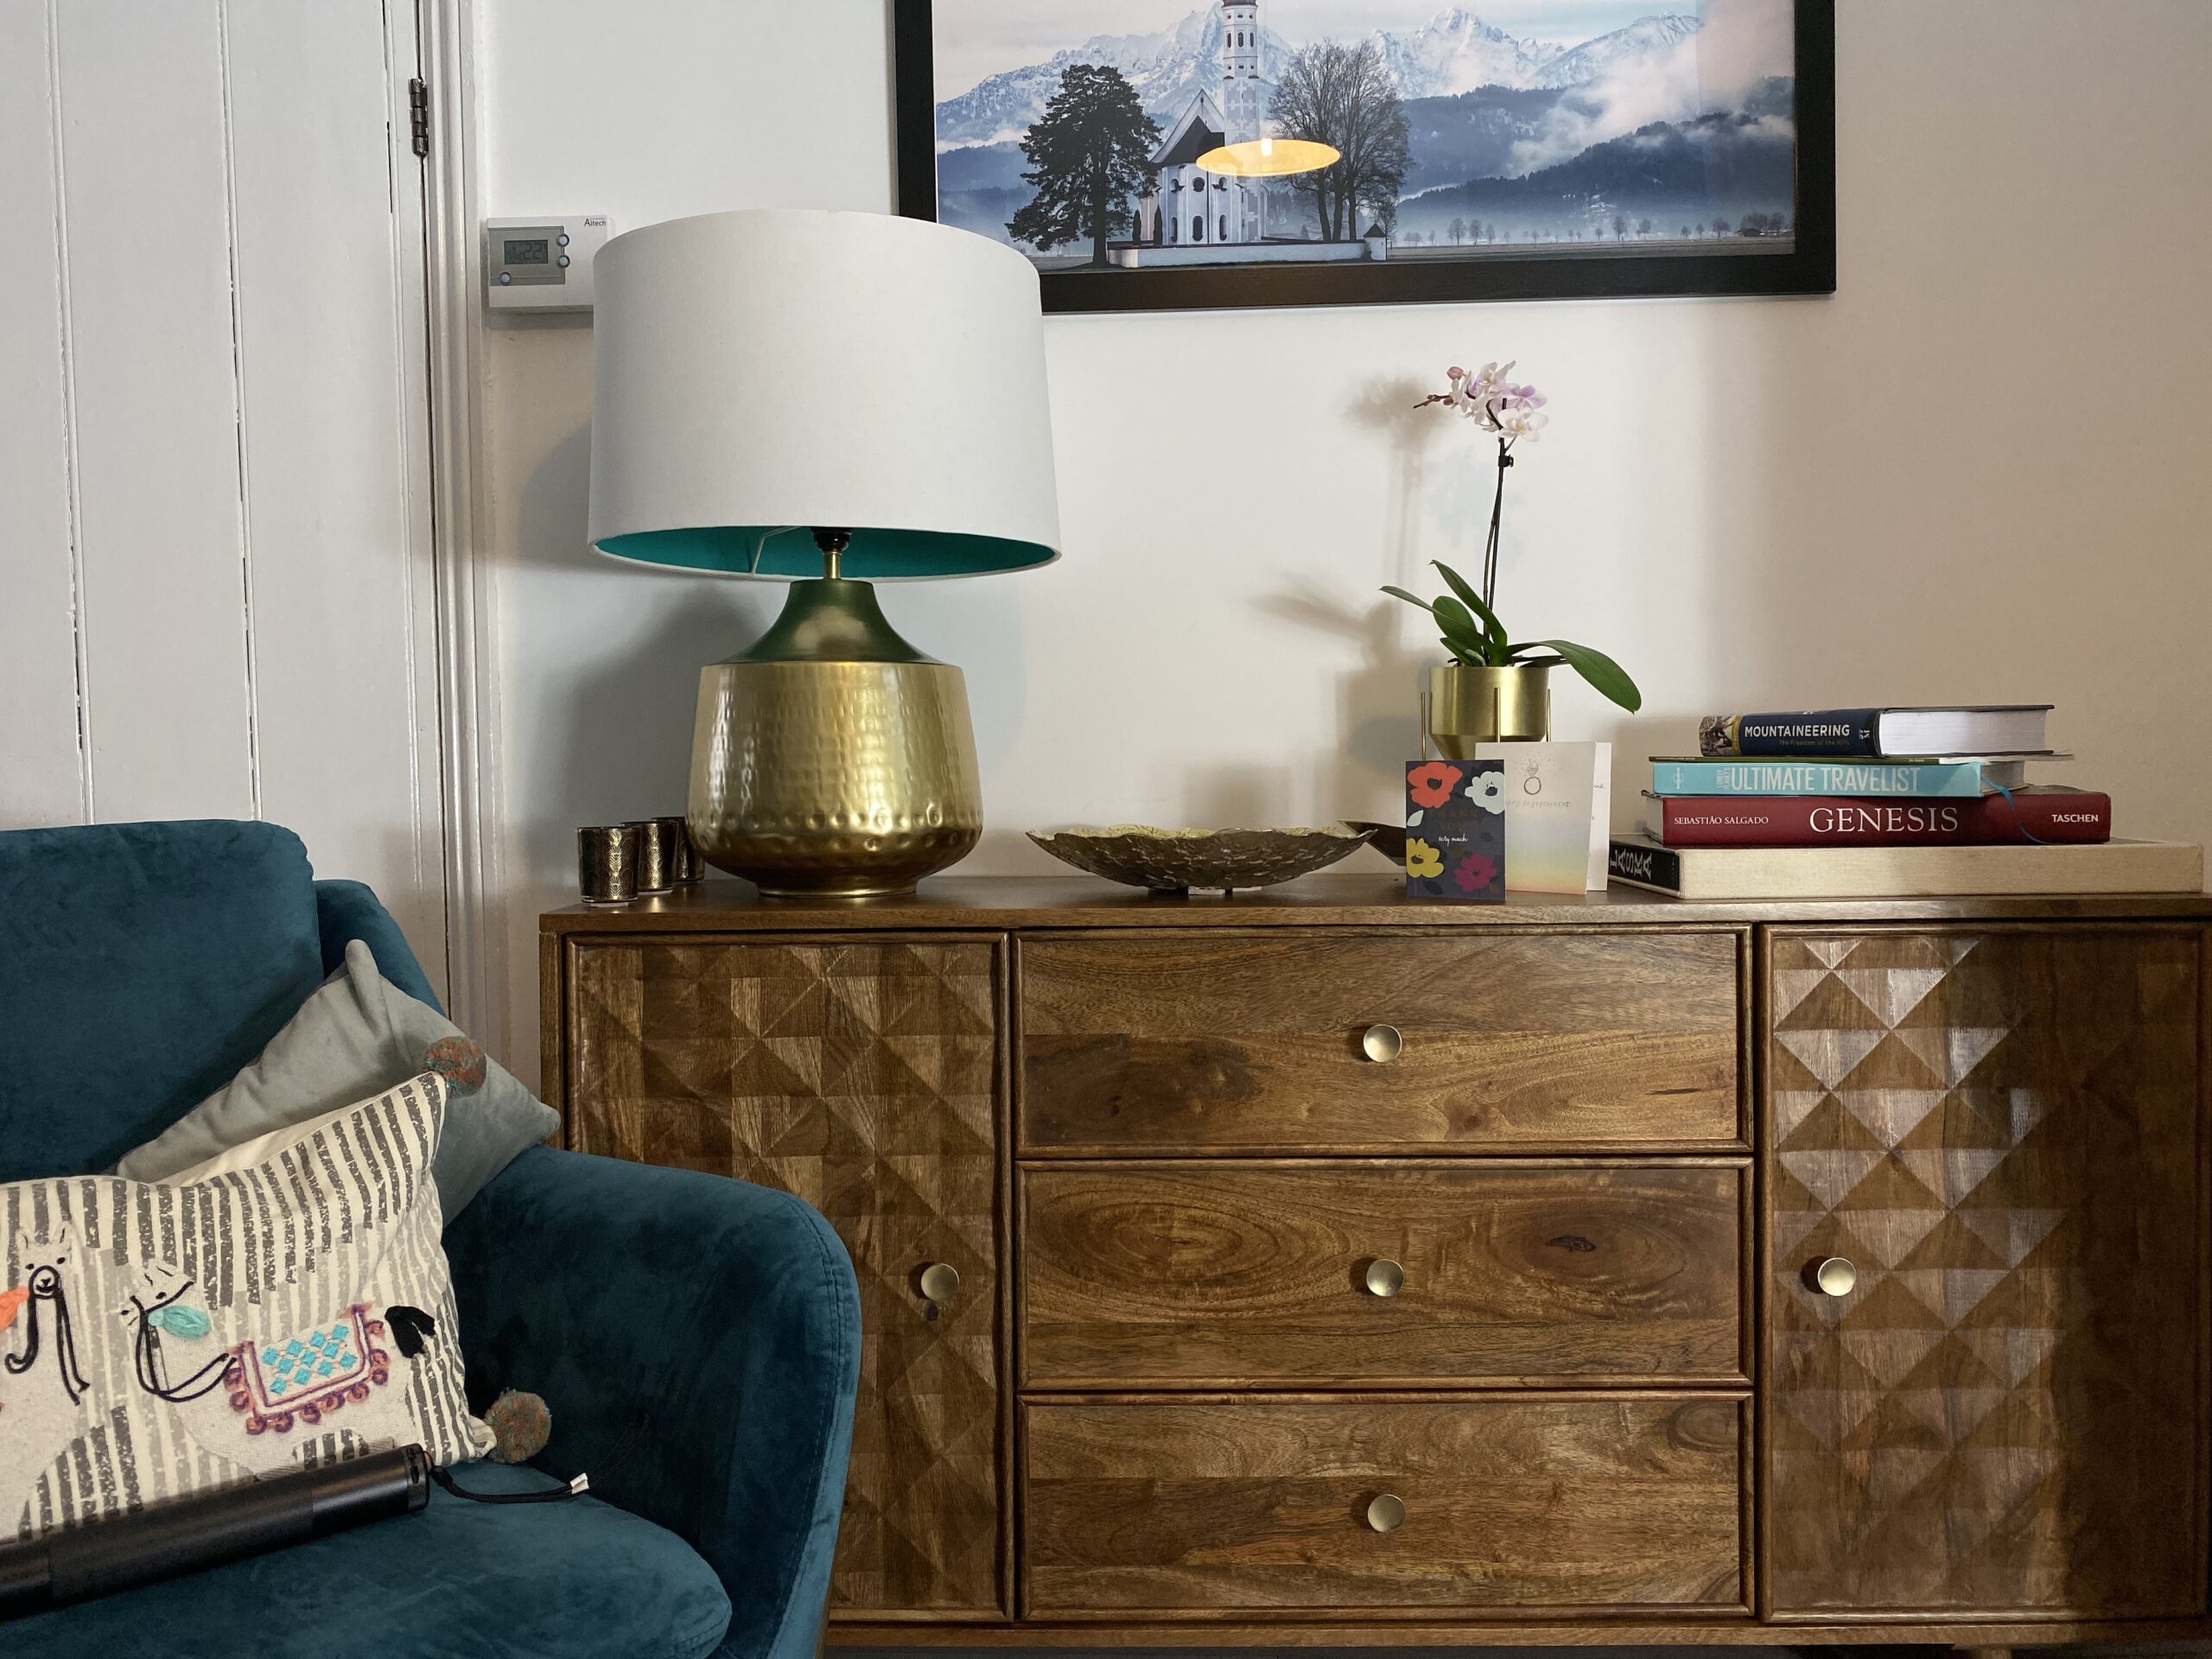
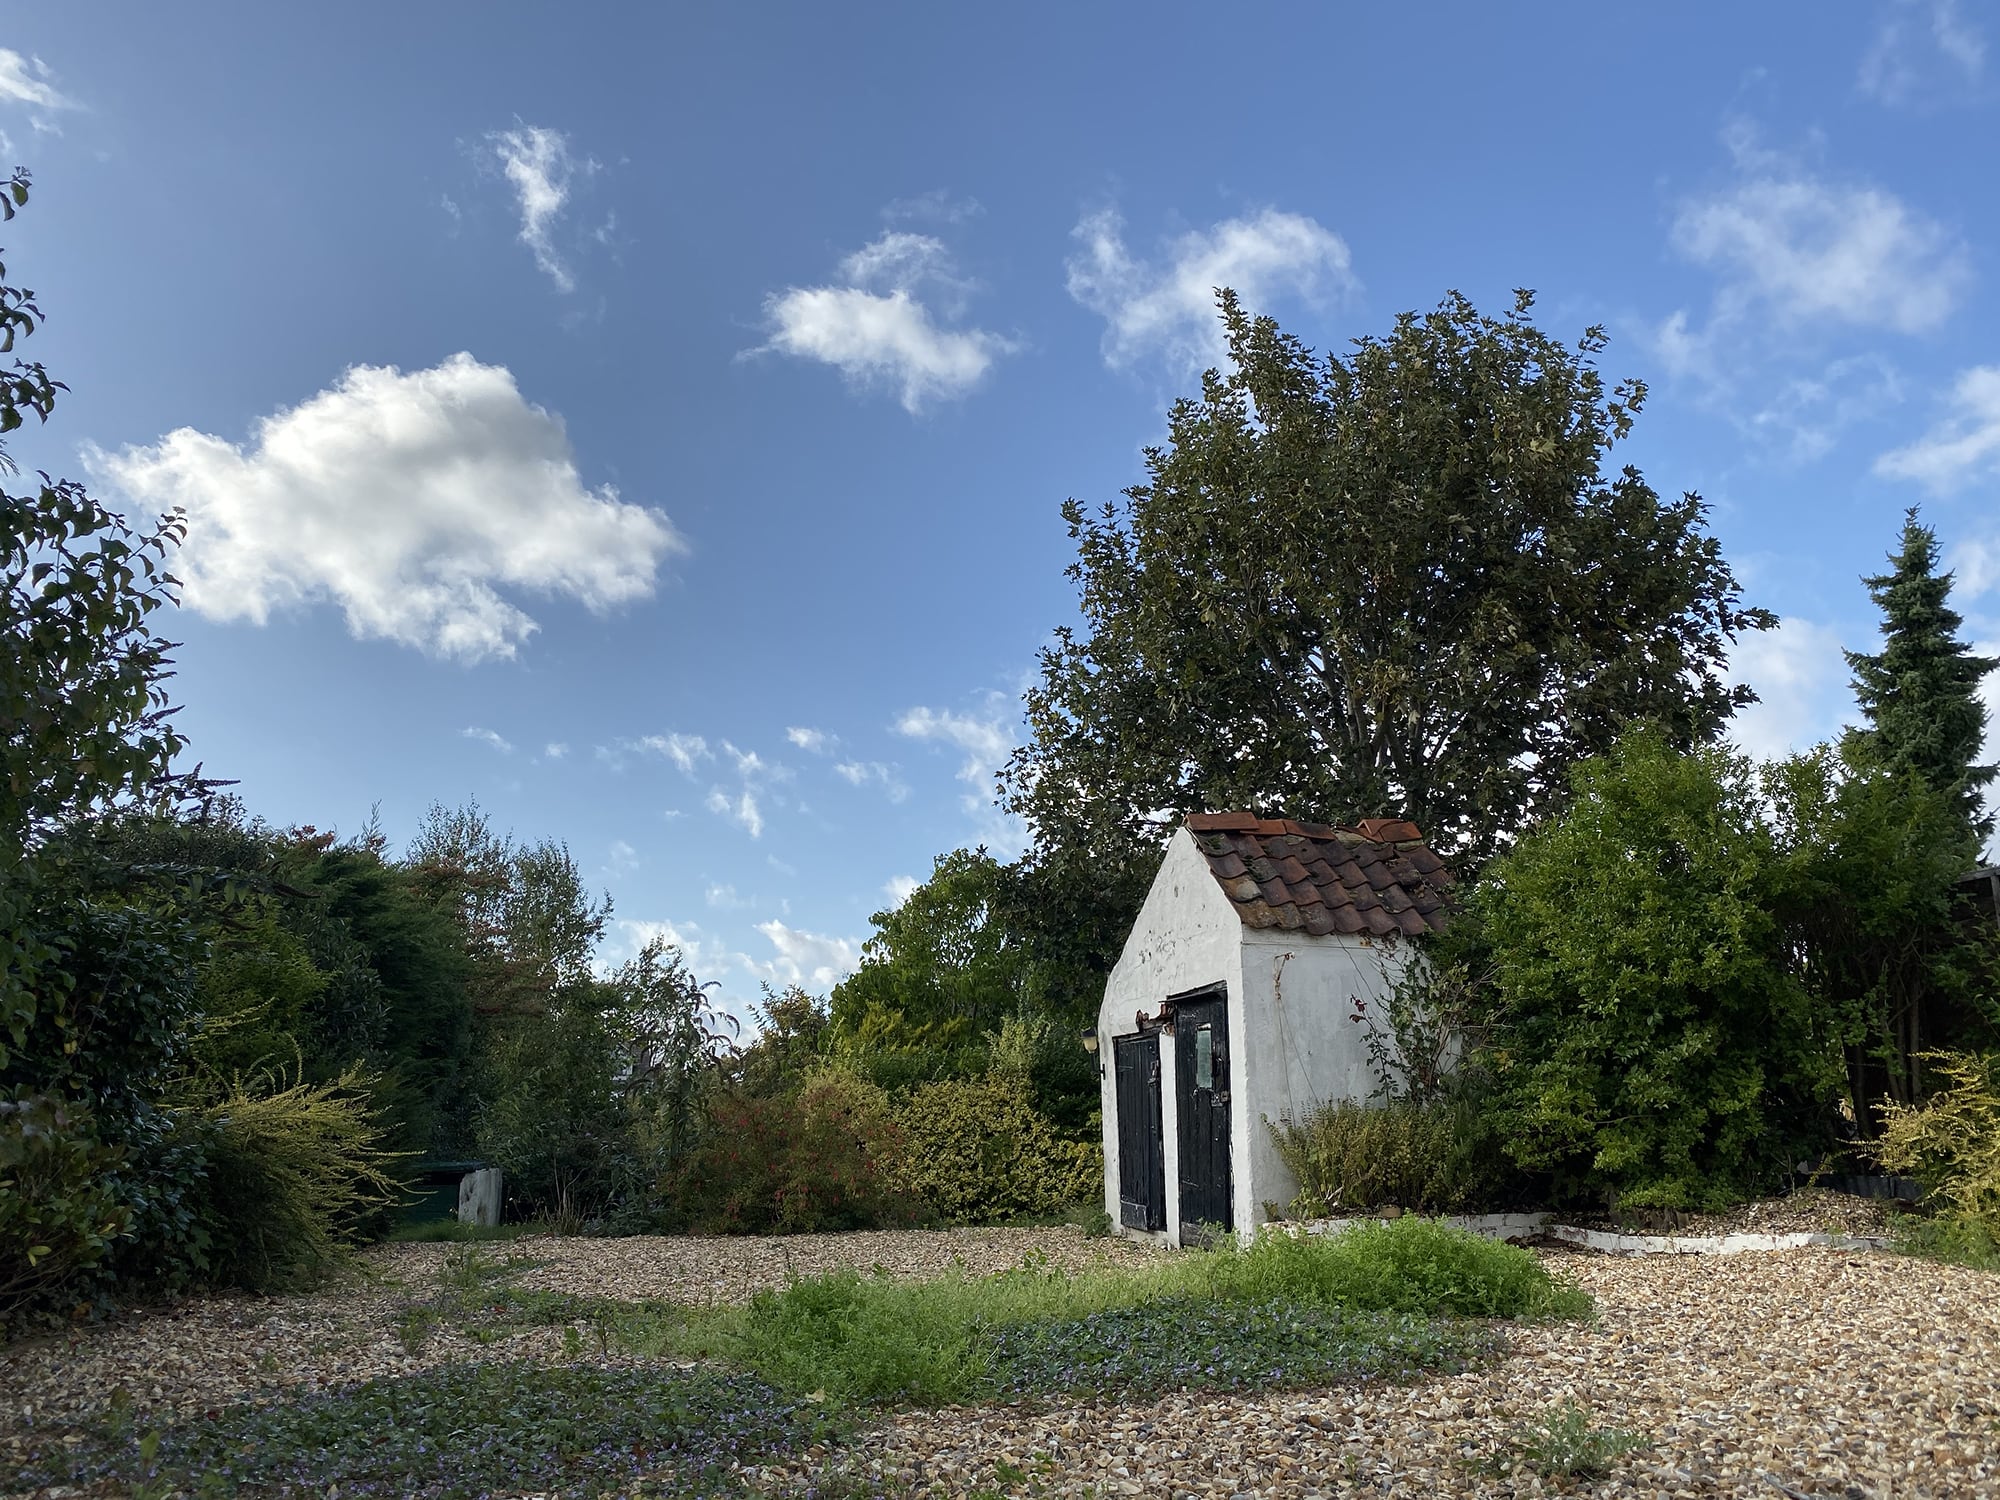
The iPhone 11 and 11 Pro are undoubtedly very capable little machines in terms of photography and especially video. But there is definitely some unknowns and lesser discussed things that I think photographers should find out about:
Are all of Apple’s computational skills kept within their own camera app, or are the various other apps able to take advantage of it too? (noise, exposure blending, sharpening etc)
How to achieve the best possible image quality from the iPhone 11
What format is best, RAW or JPEG/HEIC? This might be less clear than it seems
What is the best Camera app for image quality?
Image quality vs convenience factor
Items used in this test…
Disclaimer: The text below will link through to amazon and are paid affiliate links.
Notice: WordPress doesn’t easily support HEIC files, so for much of this I will convert to JPEG to make compatibility easy. I will occasionally add a link to a .tif file to give you the full quality if desired.
Which is best? JPEG or HEIC (which by the way is the same as HEIF)
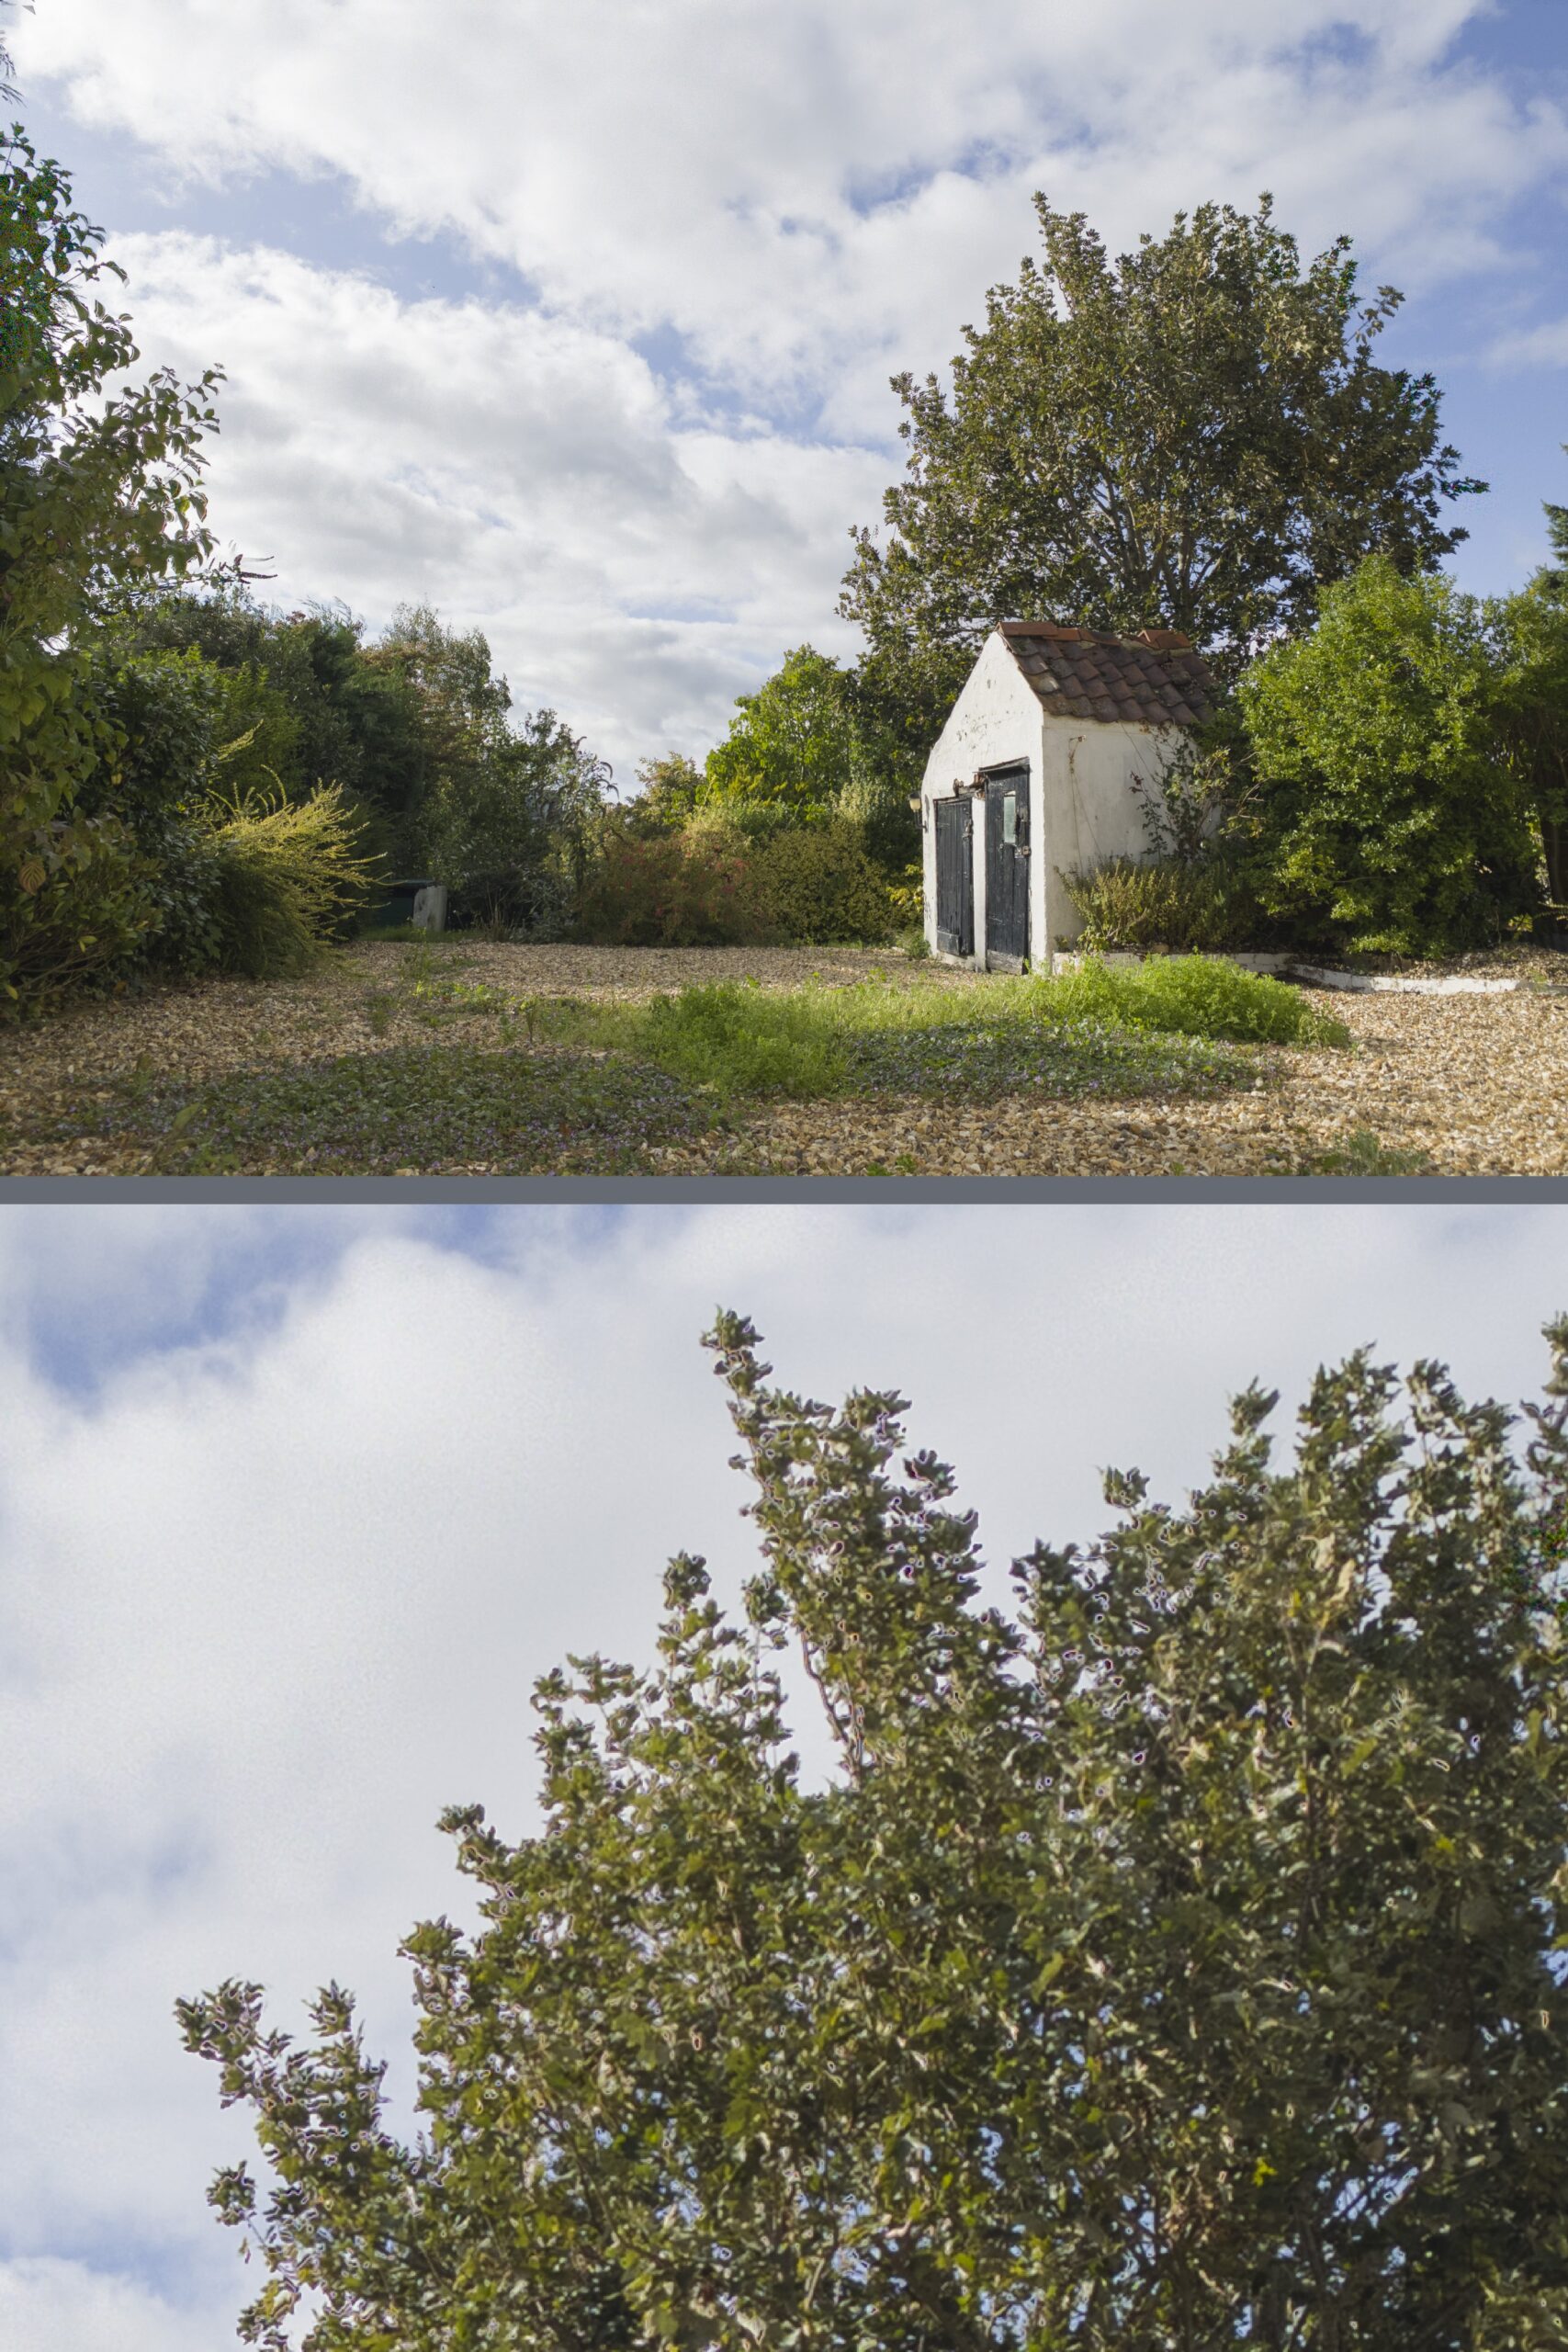
Here are two images from apples camera app on the iPhone 11 Pro. It’s difficult to tell them apart at normal sizes, but once you download both images and view them at 200-300%, you will notice that the HEIC image is marginally smoother in terms of colour grading. Also, more noticeably the HEIC holds a tiny bit more detail. 95% of the time you’d never notice the difference, and the times you will, it’ll be in favour of Apple’s HEIC.
Click here for a link to a stacked TIFF file for easy comparison
JPEG
HEIC
Considering HEIC takes up less space and is potentially more flexible, there really isn’t many reasons to shoot JPEG. If you use a Windows computer, you’ll need to install the HEIF image extensions from the Microsoft app store.
Cleanest, Sharpest and Best Looking?
I wish I was describing myself above but I am not. Instead, does Apple’s own camera application produce the best image? Or does it face some competition from other apps?
Considering the camera lens and sensor are identical, it’ll be purely down how each application handles the HEIC file, how well it compresses it and what choices each app makes in it’s built in sharpening and noise reduction, right? Nope, it’s never that simple is it…
How I tested:
I used the manual mode for each camera application, set the ISO to 32 (lowest setting) and the shutter speed to 1/40th, all were on a tripod. A few things to note, Halide, ProCam 7 and Manual Camera did not let me shoot HEIC or JPEG at ISO 32. Both seemed to default to ISO 80 and around a 1/100th shutter. Very odd. The next thing you will notice that both of the images by Halide and Manual camera are underexposed (probably due to the above) and contain lots more detail than any of the other ‘pro’ apps. Seems like too much of a coincidence to me that both underexposed ISO 80 images contain vastly more detail.
Remember, click on the image to access the full size version.
Apple (Smart HDR on)
Sharp, clean and detailed, but not as much detail or texture as the Halide image below. This was shot at ISO 200 and 1/50th of a second (you cannot chose), which tells me that without doubt apple is isn’t giving us correct numbers. Probably just a mash up of multiple images that it’s combined to provide these results.
Halide
Underexposed but holds a lot of detail but has a little more noise, but not by much. Excellent apart from the exposure issue, which I will be looking at later.
ProCam 7A little noisy and the clarity and sharpness has been lost compared to the Halide, Manual Camera and Apple images. However, although it couldn’t shoot at 32 ISO like the Halide and Manual Camera it did expose it correctly.
Pro Camera Probably my least favourite of the lot. A little noisy and with jagged sharpening and no more detail than others. Almost like the edges have been falsely shapened.
Lightroom MobileAbout as sharp as the ProCam 7 image, but smoother and with less noise. It’s like it has given us a nice image to work from with little to no sharpening applied. I like this.
Manual CameraUnderexposed like Halide, a huge amount of detail and a more noise. The fact the two underexposed 80 ISO images hold more detail, cannot be a coincidence.
MomentVery similar to Lightroom, but potentially a touch more sharpening. Quite nice.
Apple (with night mode)This is a bit of a odd one. The detail is amazing and its superbly exposed, but maybe a touch oversharp. It was not a dim scene and you can seemingly force the camera into night mode by focussing on something darker. Count that as a tip.
Because of the exposure issues above, I shot a different image at ISO 32 and then again at 125 to see if there really were differences in detail at higher ISO. And there was. Quite noticably. And the higher ISO image is the winner here. The noise is increased by not by much. I think I am now starting to understand why almost every image I have opened and inspected from Apple’s own camera, is around the 100-200 ISO mark. They then take some longer, lower ISO shots and combine to reduce the noise overall.
I am also guessing that is the reason for both camera apps defaulting to ISO 80, to give more detail.
Click the images to see them at full size.
ISO 32
ISO 125
RAW
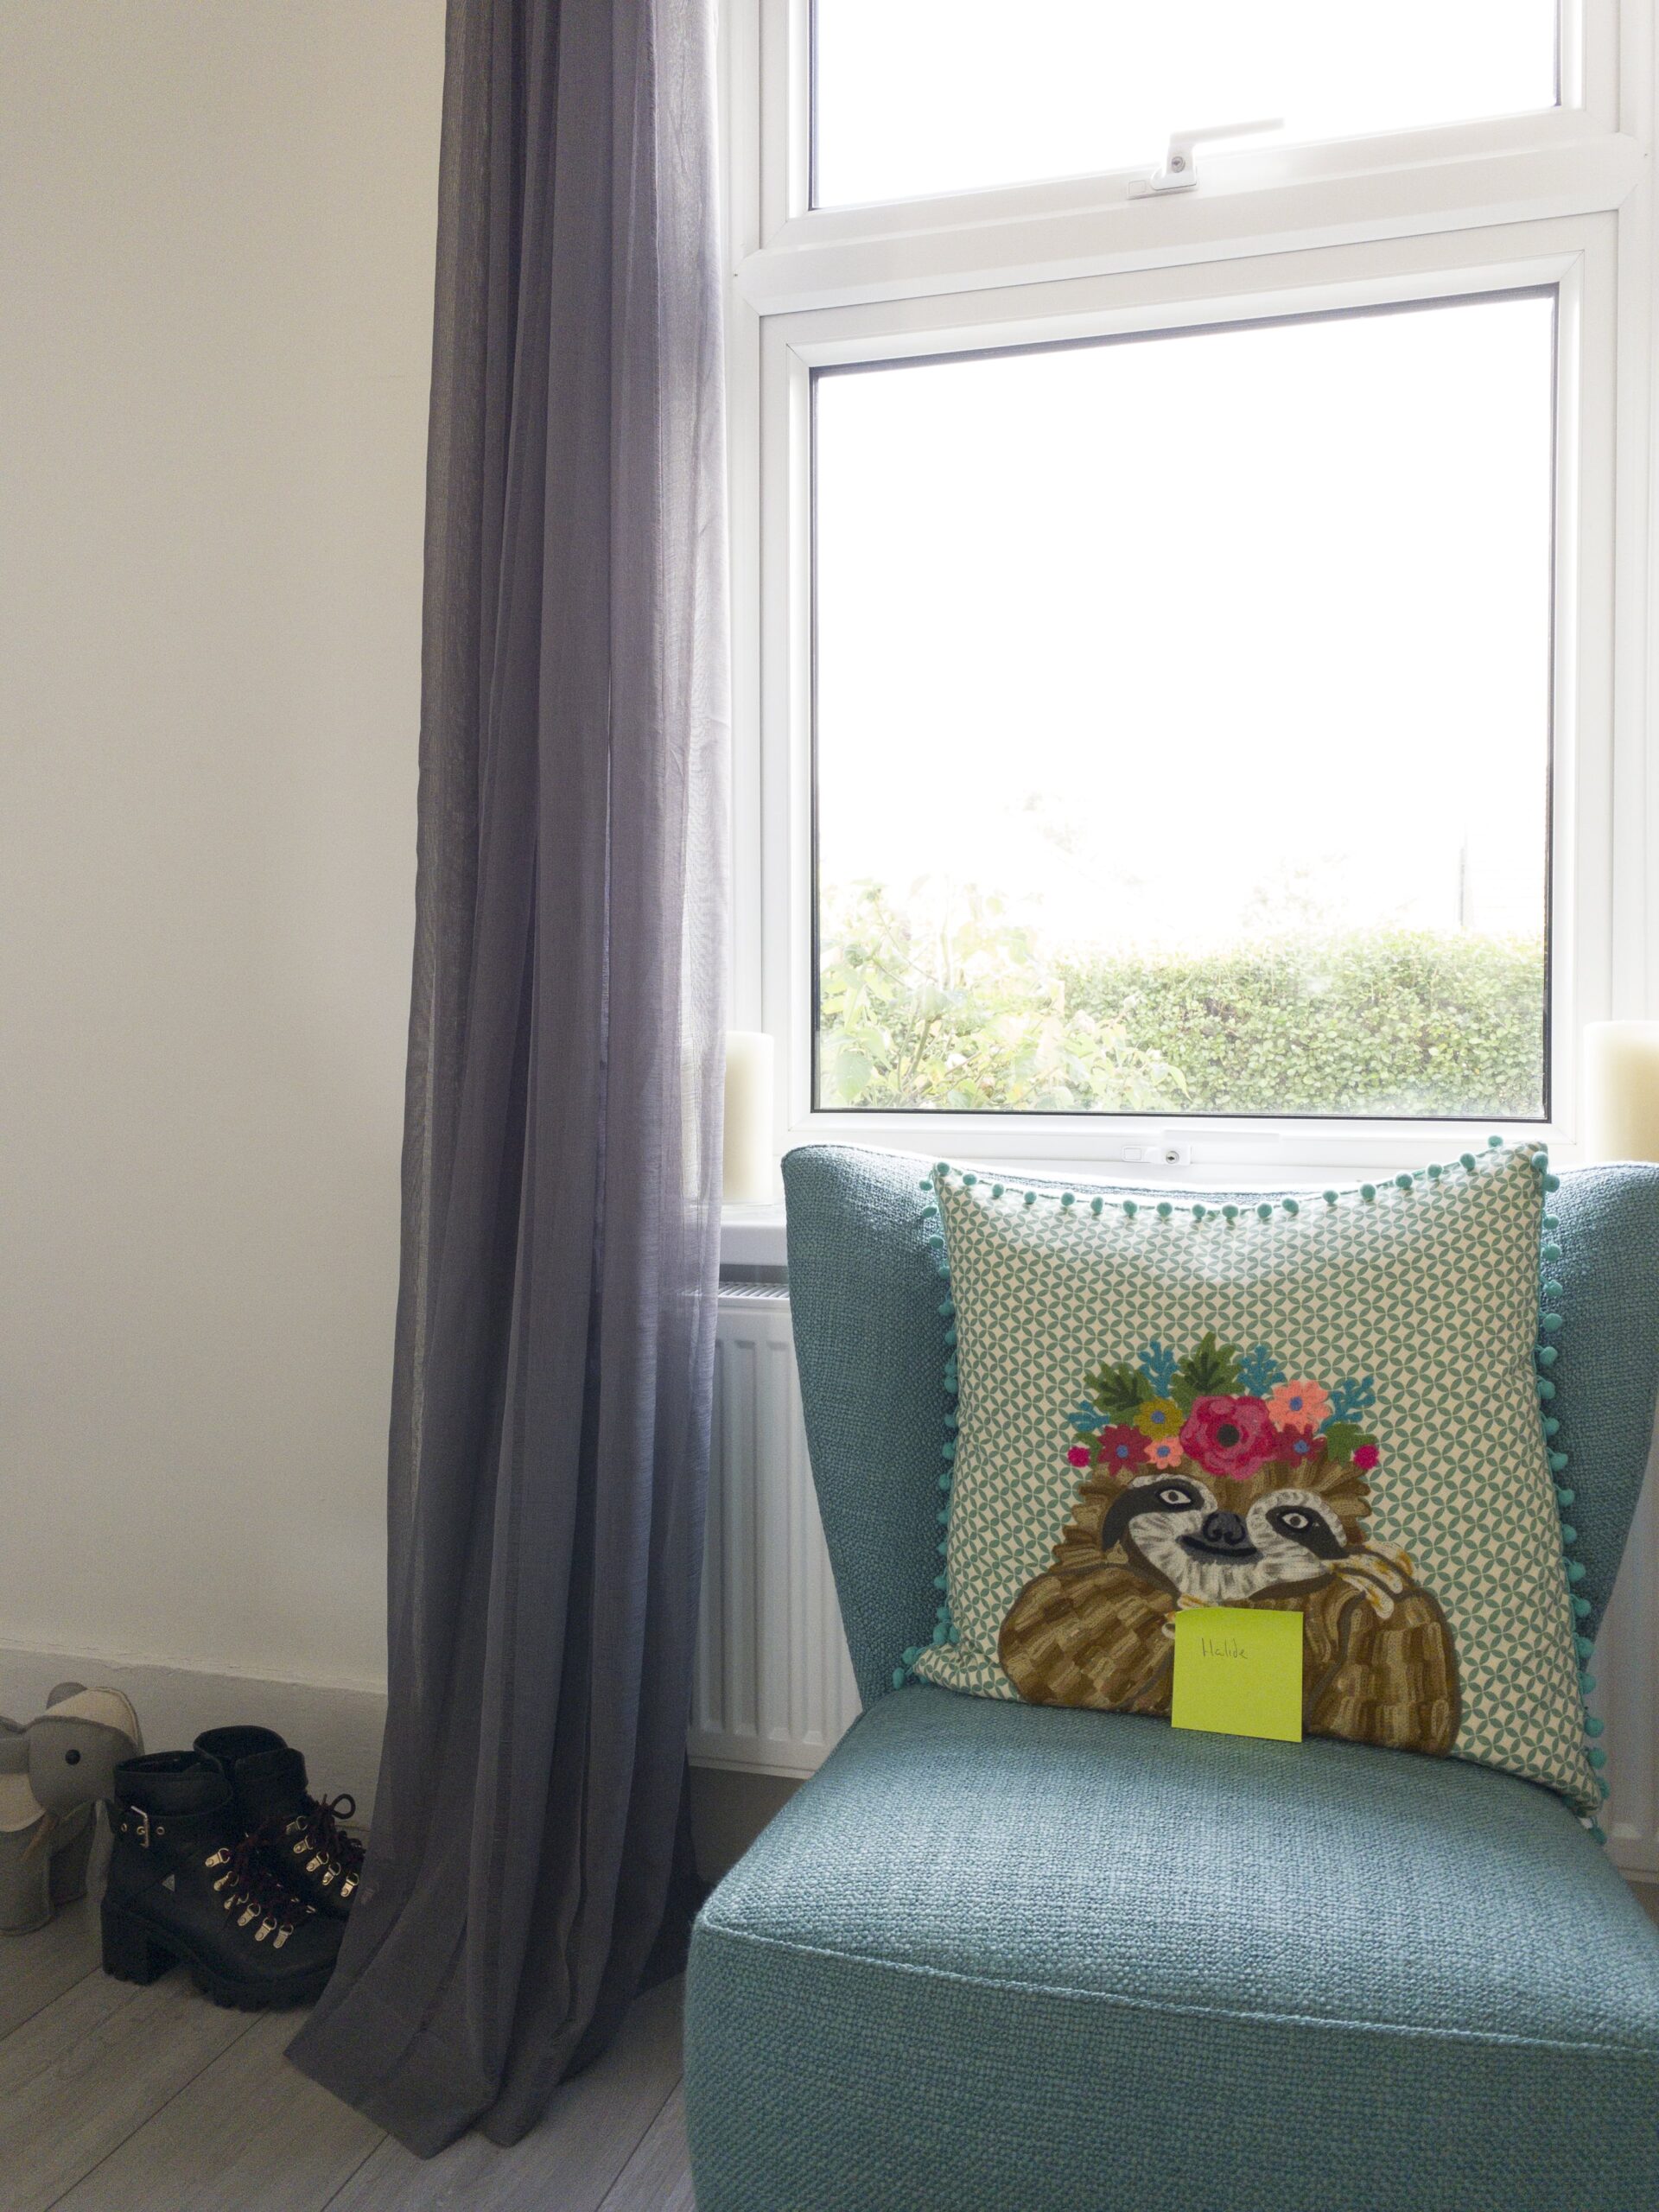
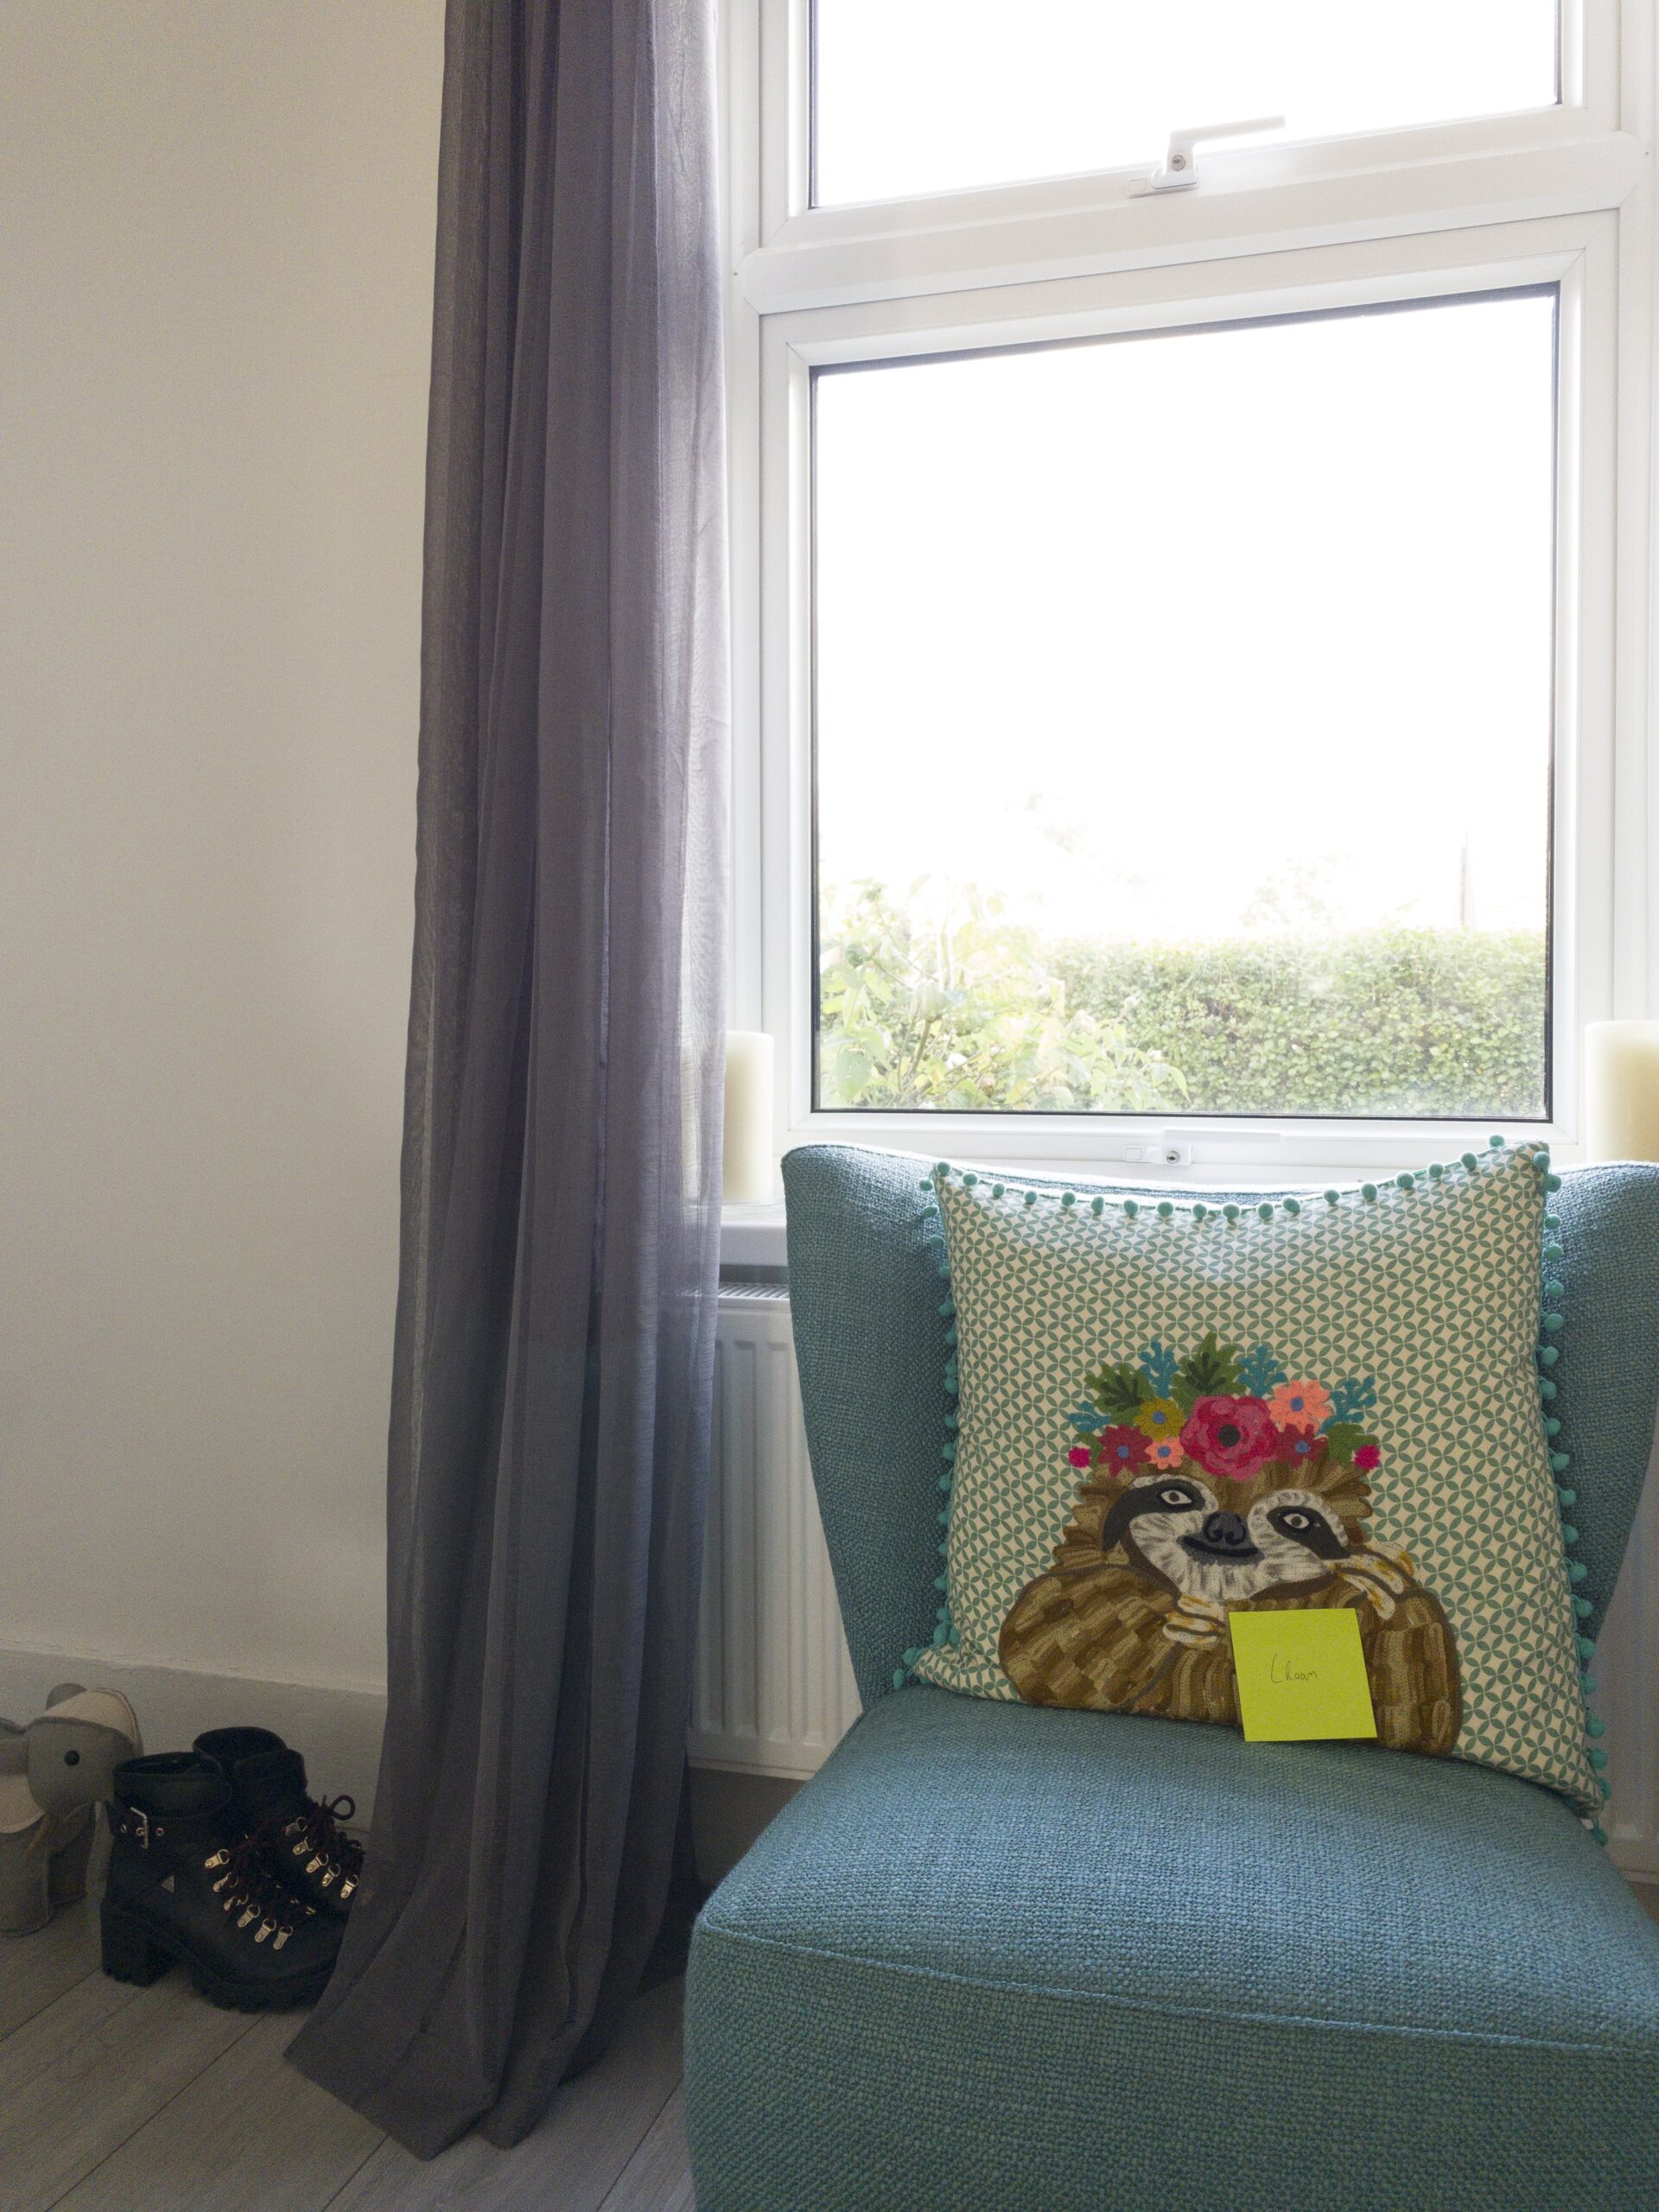
Well this was an eye opener. This time, I am not going to post the full size images, as it’s very clear even from a smaller size how terribly almost every app handled the scene. In fairness, it was a very difficult scene to render, with a moderately lit chair and super bright sky outside, but I still expected to be able to rescue something. But absolutely no information is recoverable in the Sky.
The first six images show pretty much identical, terrible results. Apart from a few slight differences in exposure we can call them the same. I even attemped to force focus on the candle or sky and nothing really changed.
ProCam
Halide
Pro Camera
Moment
Manual
LRoom NON HDR
The three images below however, are actually worth talking about.
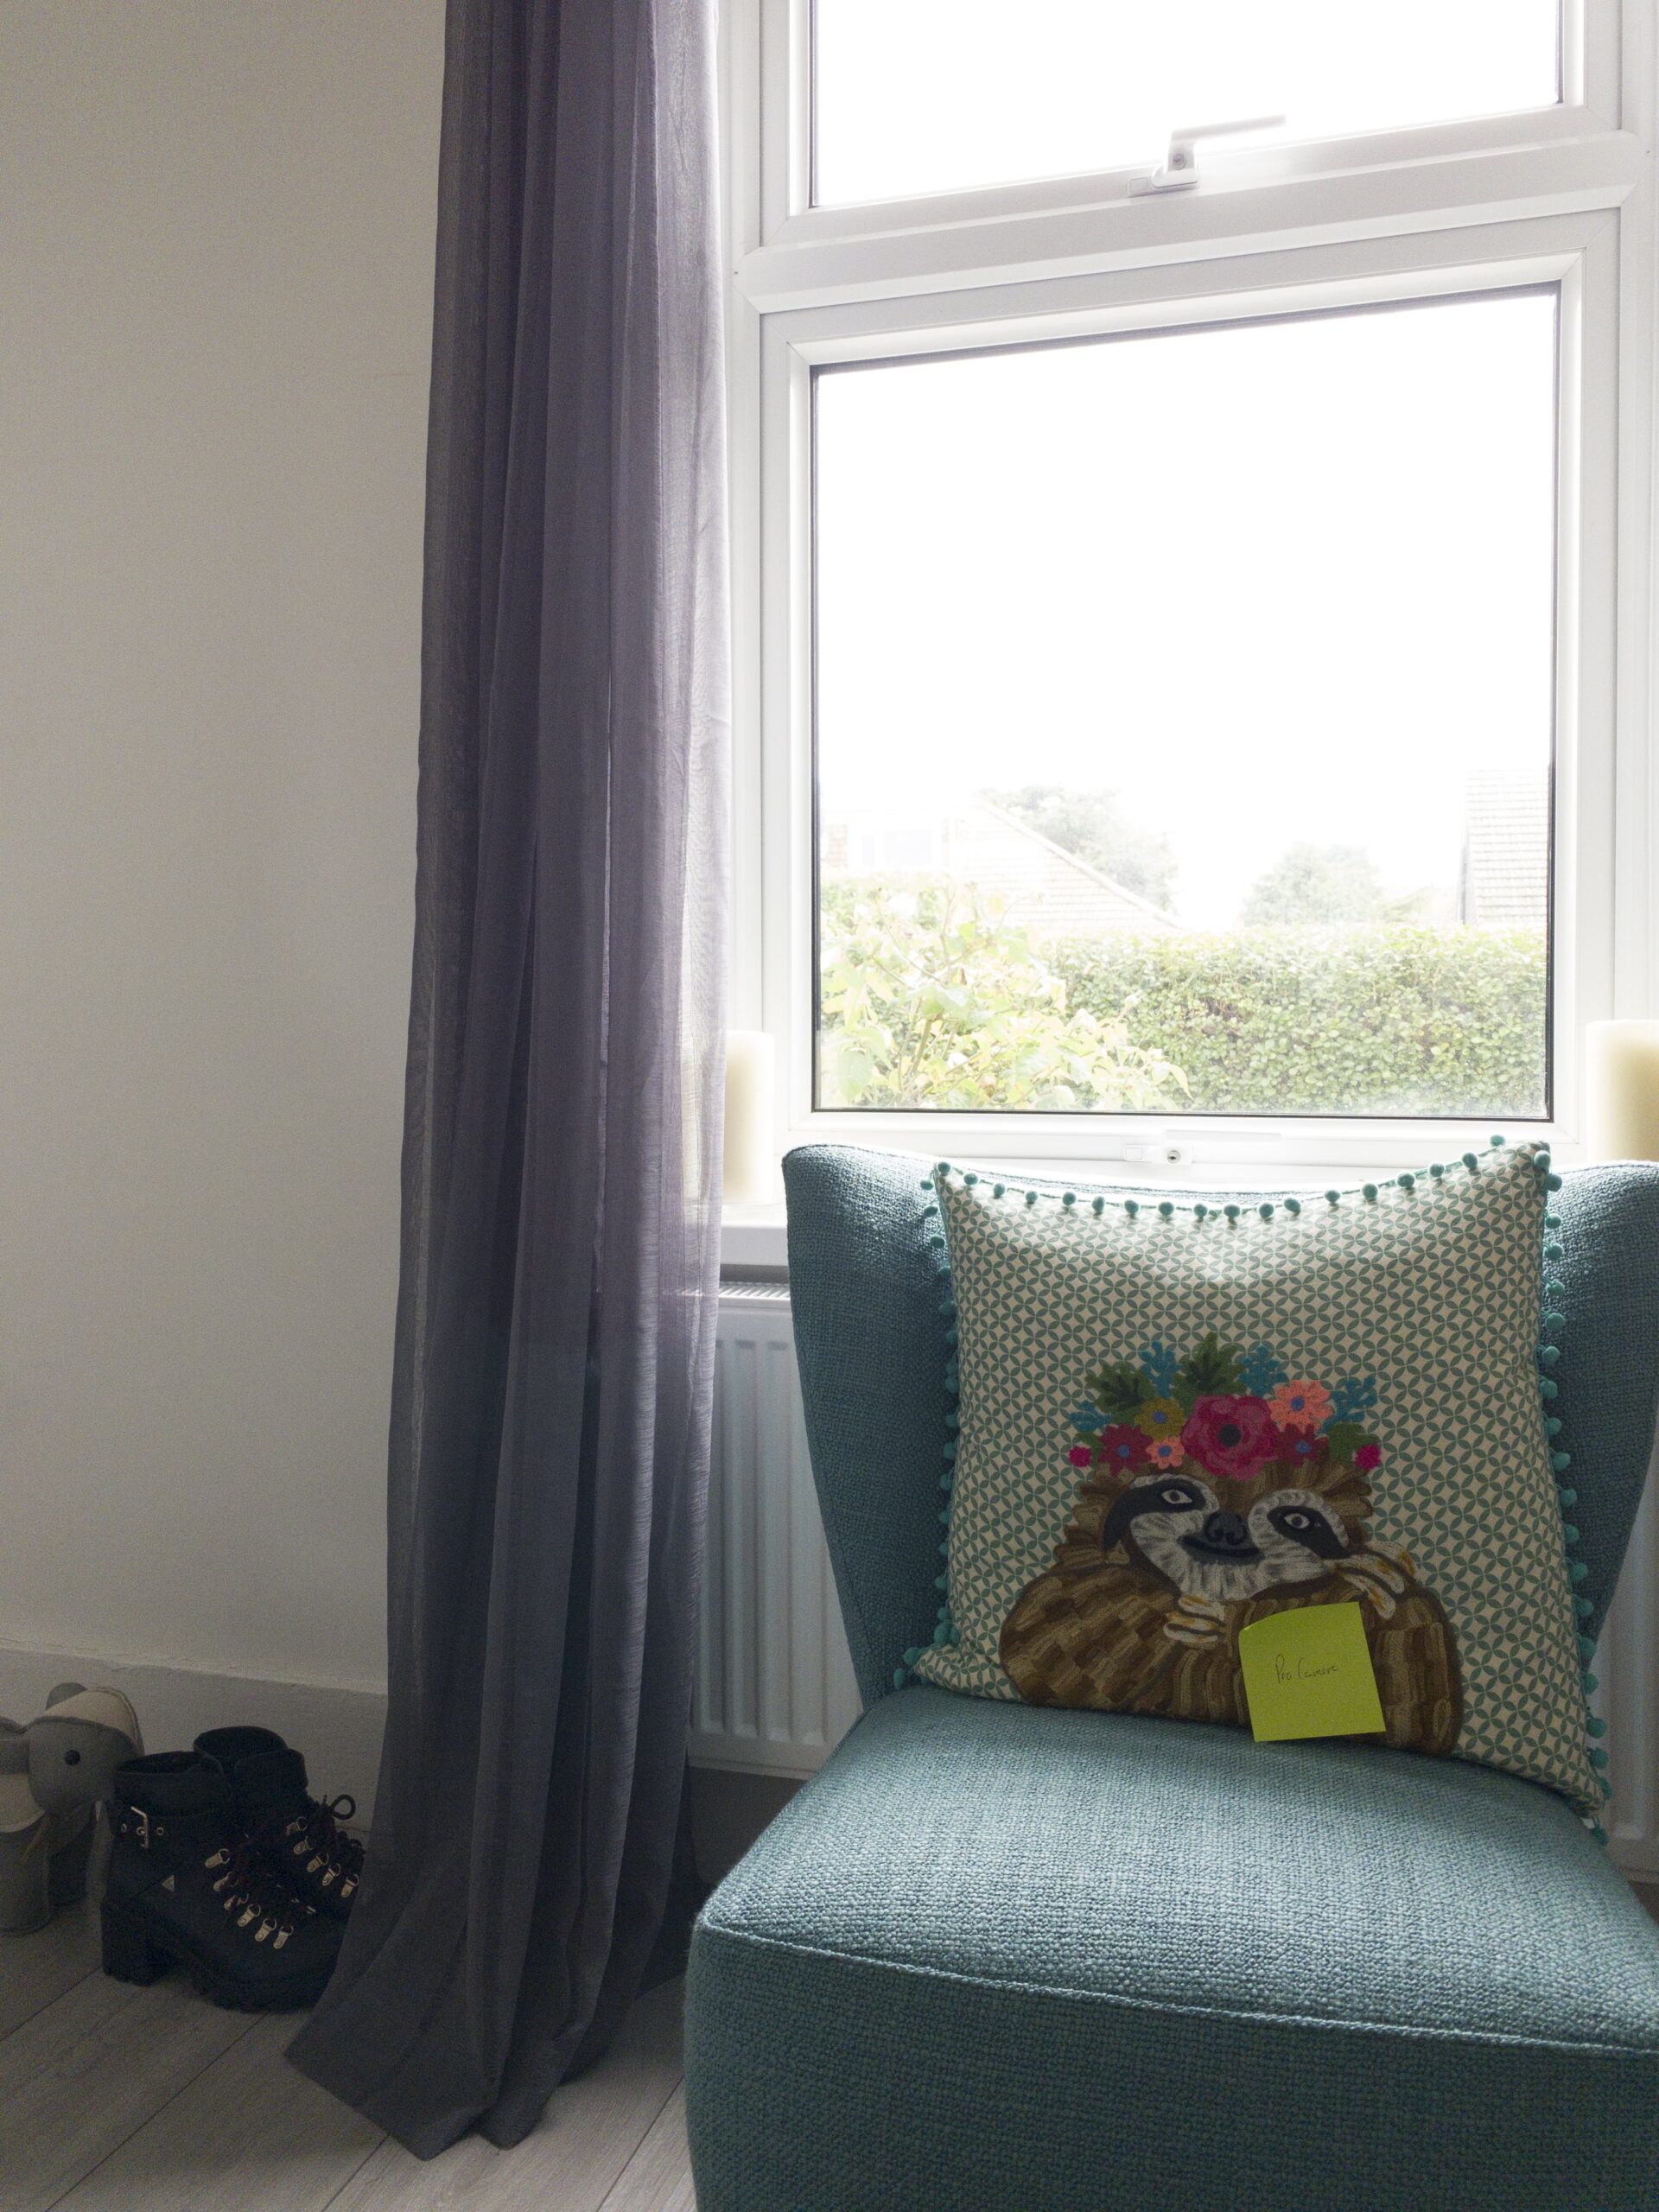
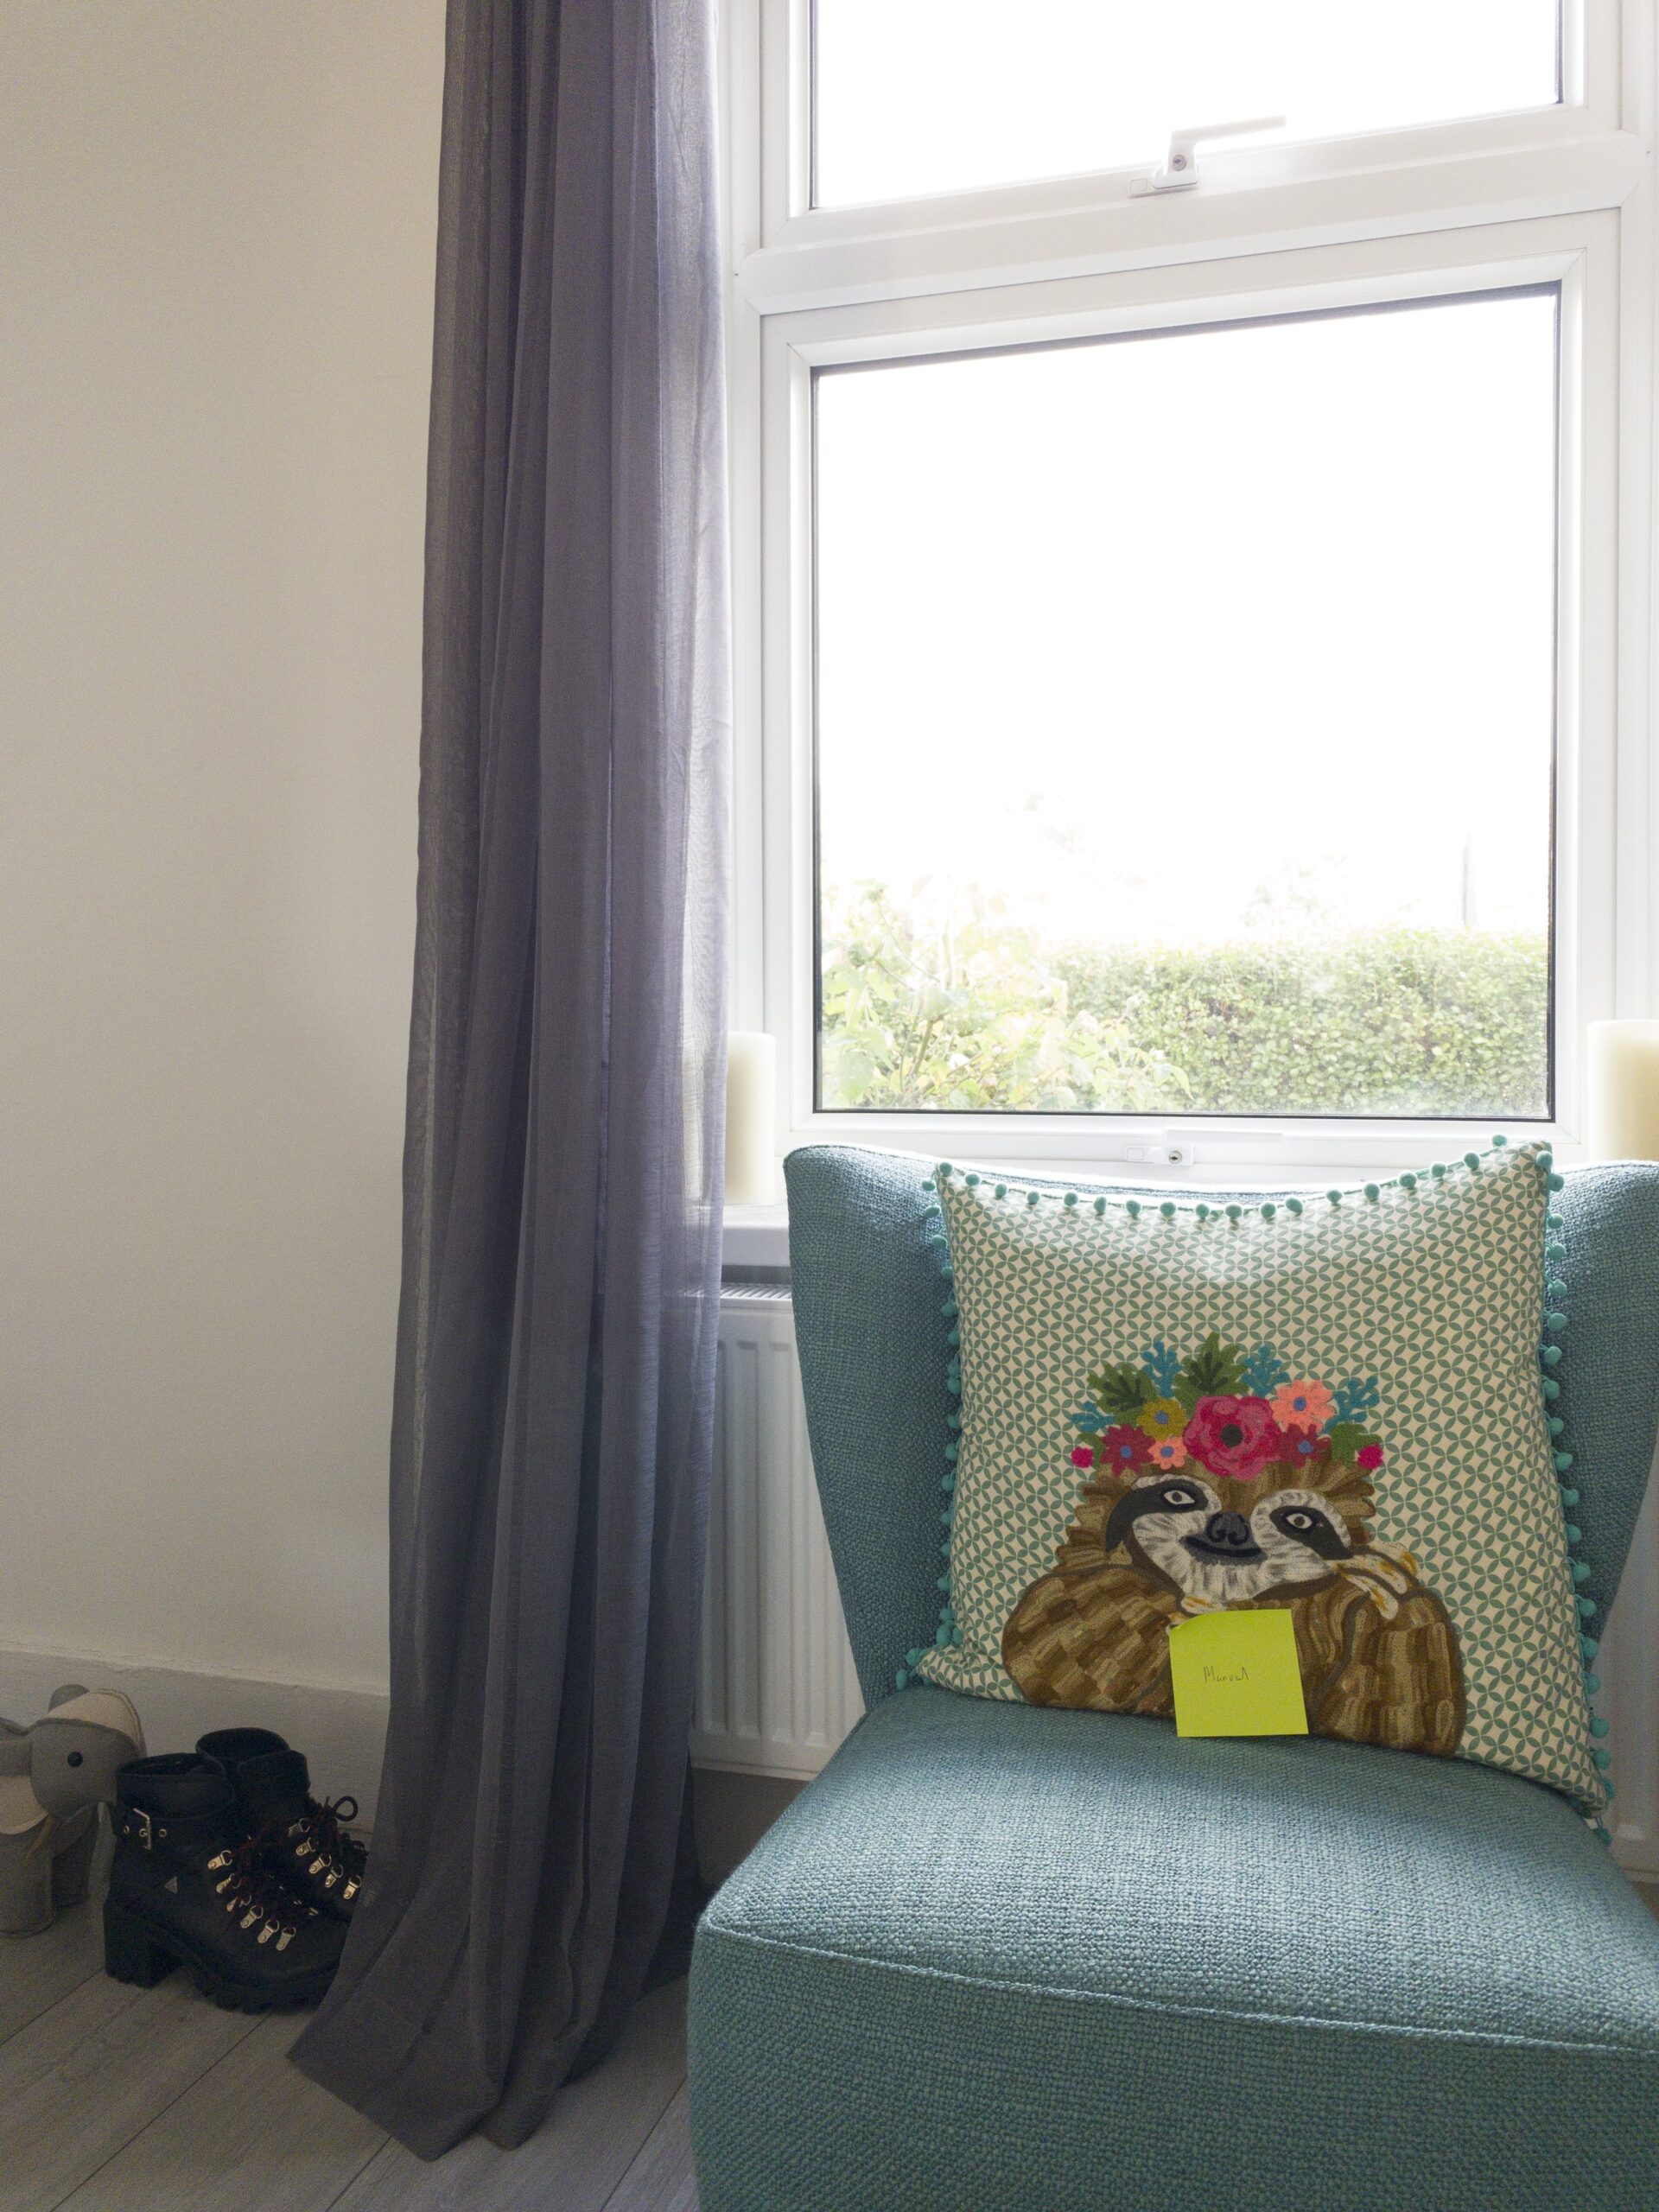
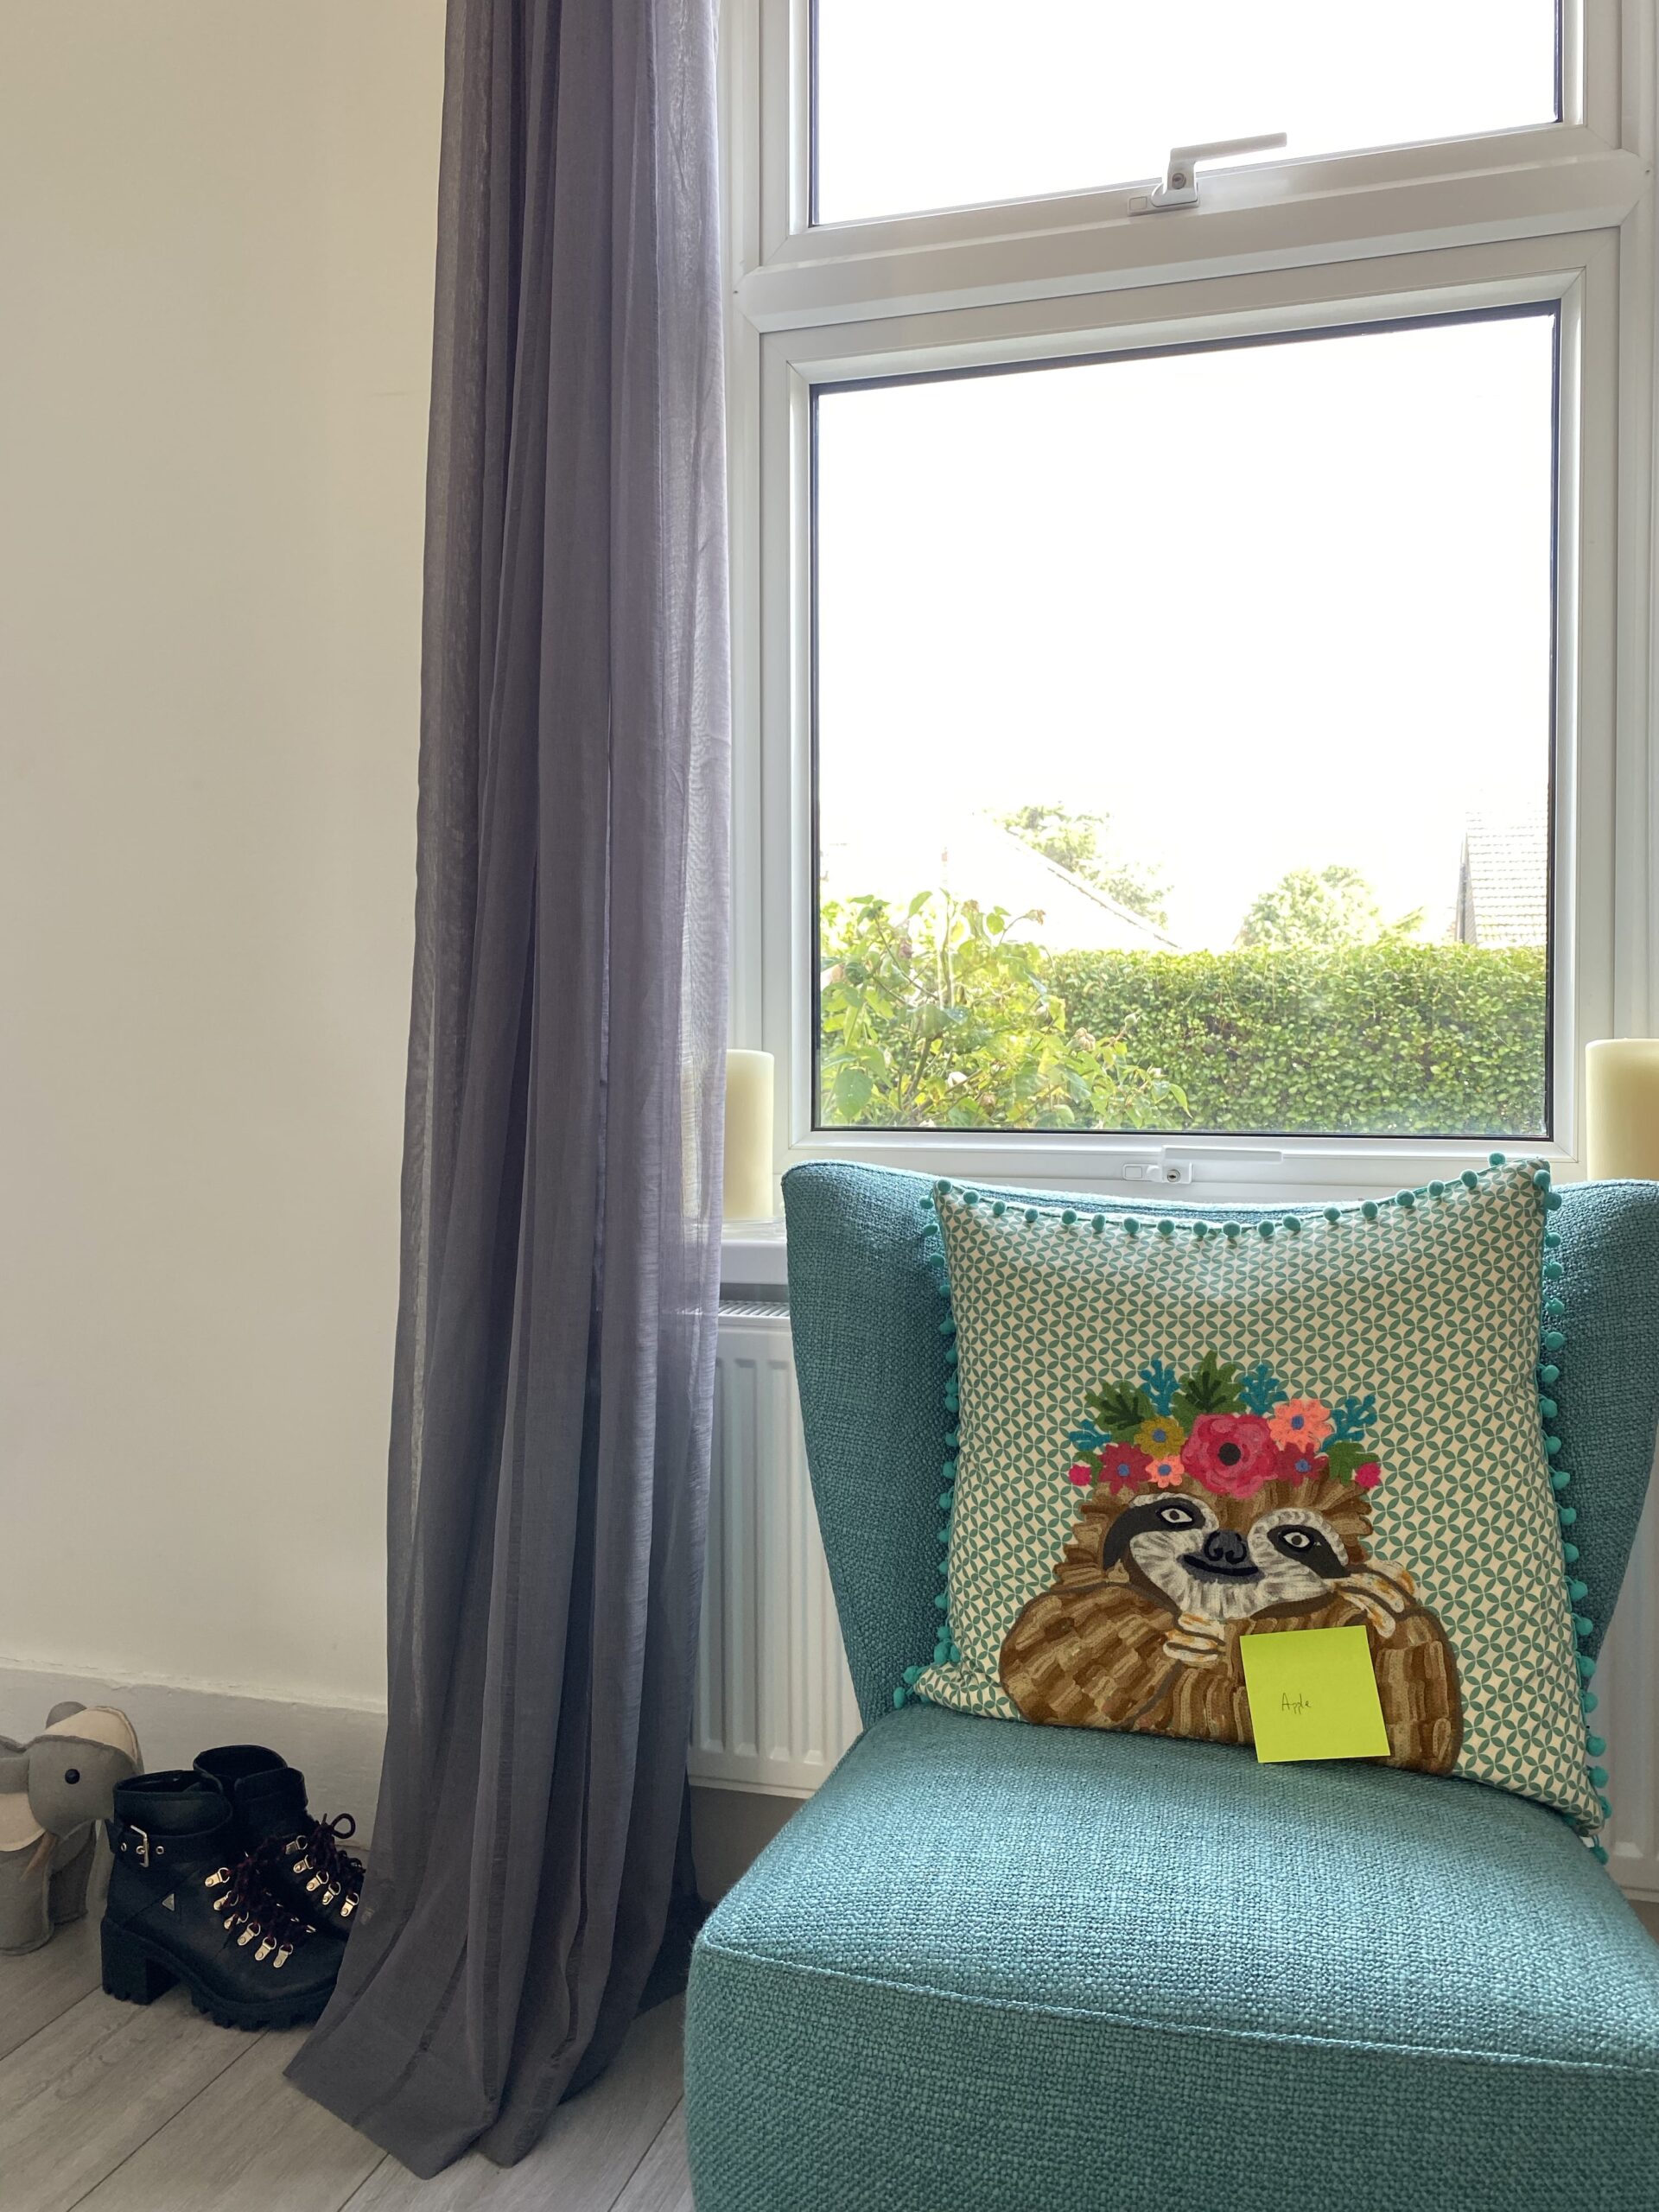
The first one is Apple’s standard app with the focus and exposure being set on the cushion, which is one of the darker parts of the image. The second is with focus set on the hand of the window. It basically initiates apples HDR to kick in, probably as it’s roughly the mid-point between the shadows and highlights. I tried to replicate this with all of the other apps in their own HDR modes (if they had them) and I couldn’t get anywhere near the same result, supporting the notion that Apple is not sharing its computational prowess with any random app maker.
Best RAW image quality from the iPhone 11 Pro?
Lastly, the image to the far right is the ‘HDR RAW’ mode that has been pioneered by Lightroom in it’s Free mobile app. As far as I can tell, no other app has exposure blending whilst saving the result as a DNG. Halide’s ‘Smart RAW’ didn’t seem to help it at all compared to the others. The Dynamic range from this DNG file is quite sensational too.
Apple
Apple (focus point – candle)
LRoom HDR
There is one problem. Sometime a small problem and sometimes not. When viewing the image at large sizes (200-300%) you might notice in places that the blend isnt perfect, sometimes leaving a double halo or edge effect. It’s not really noticeable at 100%, but instead leaves the image a tiny bit less sharp that it could be, but at times plain ugly.
Below are two DNG files that can be downloaded, illustrating the huge difference between a normal single RAW exposure and the HDR RAW that is an option in Lightroom Mobile. If you dont want to download, there is a sample below. Both files have been flattened out as much as possible. i.e. pulling down the highlights and raising the shadows.
These tiny sensors, left to their own devices, are pretty rubbish. That is why clever, unostentatious ‘computational photography mad science’ is needed.
Raw vs HEIC
Click on the three images below to open them in a new window and look at the full size images and judge for yourself. To me, there are two things to take away from this:
RAW files on a 1/2.5 inch sensor do not have anywhere near enough native Dynamic range to capture all of the data that you need in a high contract scene – not to mention the even smaller sensor behind the tele and ultra-wide lenses.
A single raw file also doesnt seem to give any more detail, possibly even less detail than the HEIC file. This has to be a result of the image blending.
Single RAW files tend to overexpose to prevent shadow noise, but at the expense of clipping highlights.
I am not for a moment implying that HEIC or JPG are better files than RAW, quite the opposite in general. But in terms of smartphones, or maybe just the iPhone they currently are. Only Lightroom HDR gives good Dynamic range in the RAW (DNG) format. But not without flaws.
Raw vs HDR Raw (Lightroom)
Below was a relatively high contract scene, but by no means extreme. The HDR Raw by Lightroom wins by a large margin in terms of getting a balanced image. The single RAW can’t cope with the highlights.
Raw Just Ain’t All That
I am pretty confident that RAW on the iPhone just is not the way forward. At least until Apple or another developer decides to make it a real focus. Unless I am missing crucial things here, multiple JPEG or HEIF images blended cleverly together produces a far better end result than standalone RAW images. Plus, critically, it is far simpler too.
High Dynamic Range
Phones are supposed to be convenient, easy to use and intelligent.
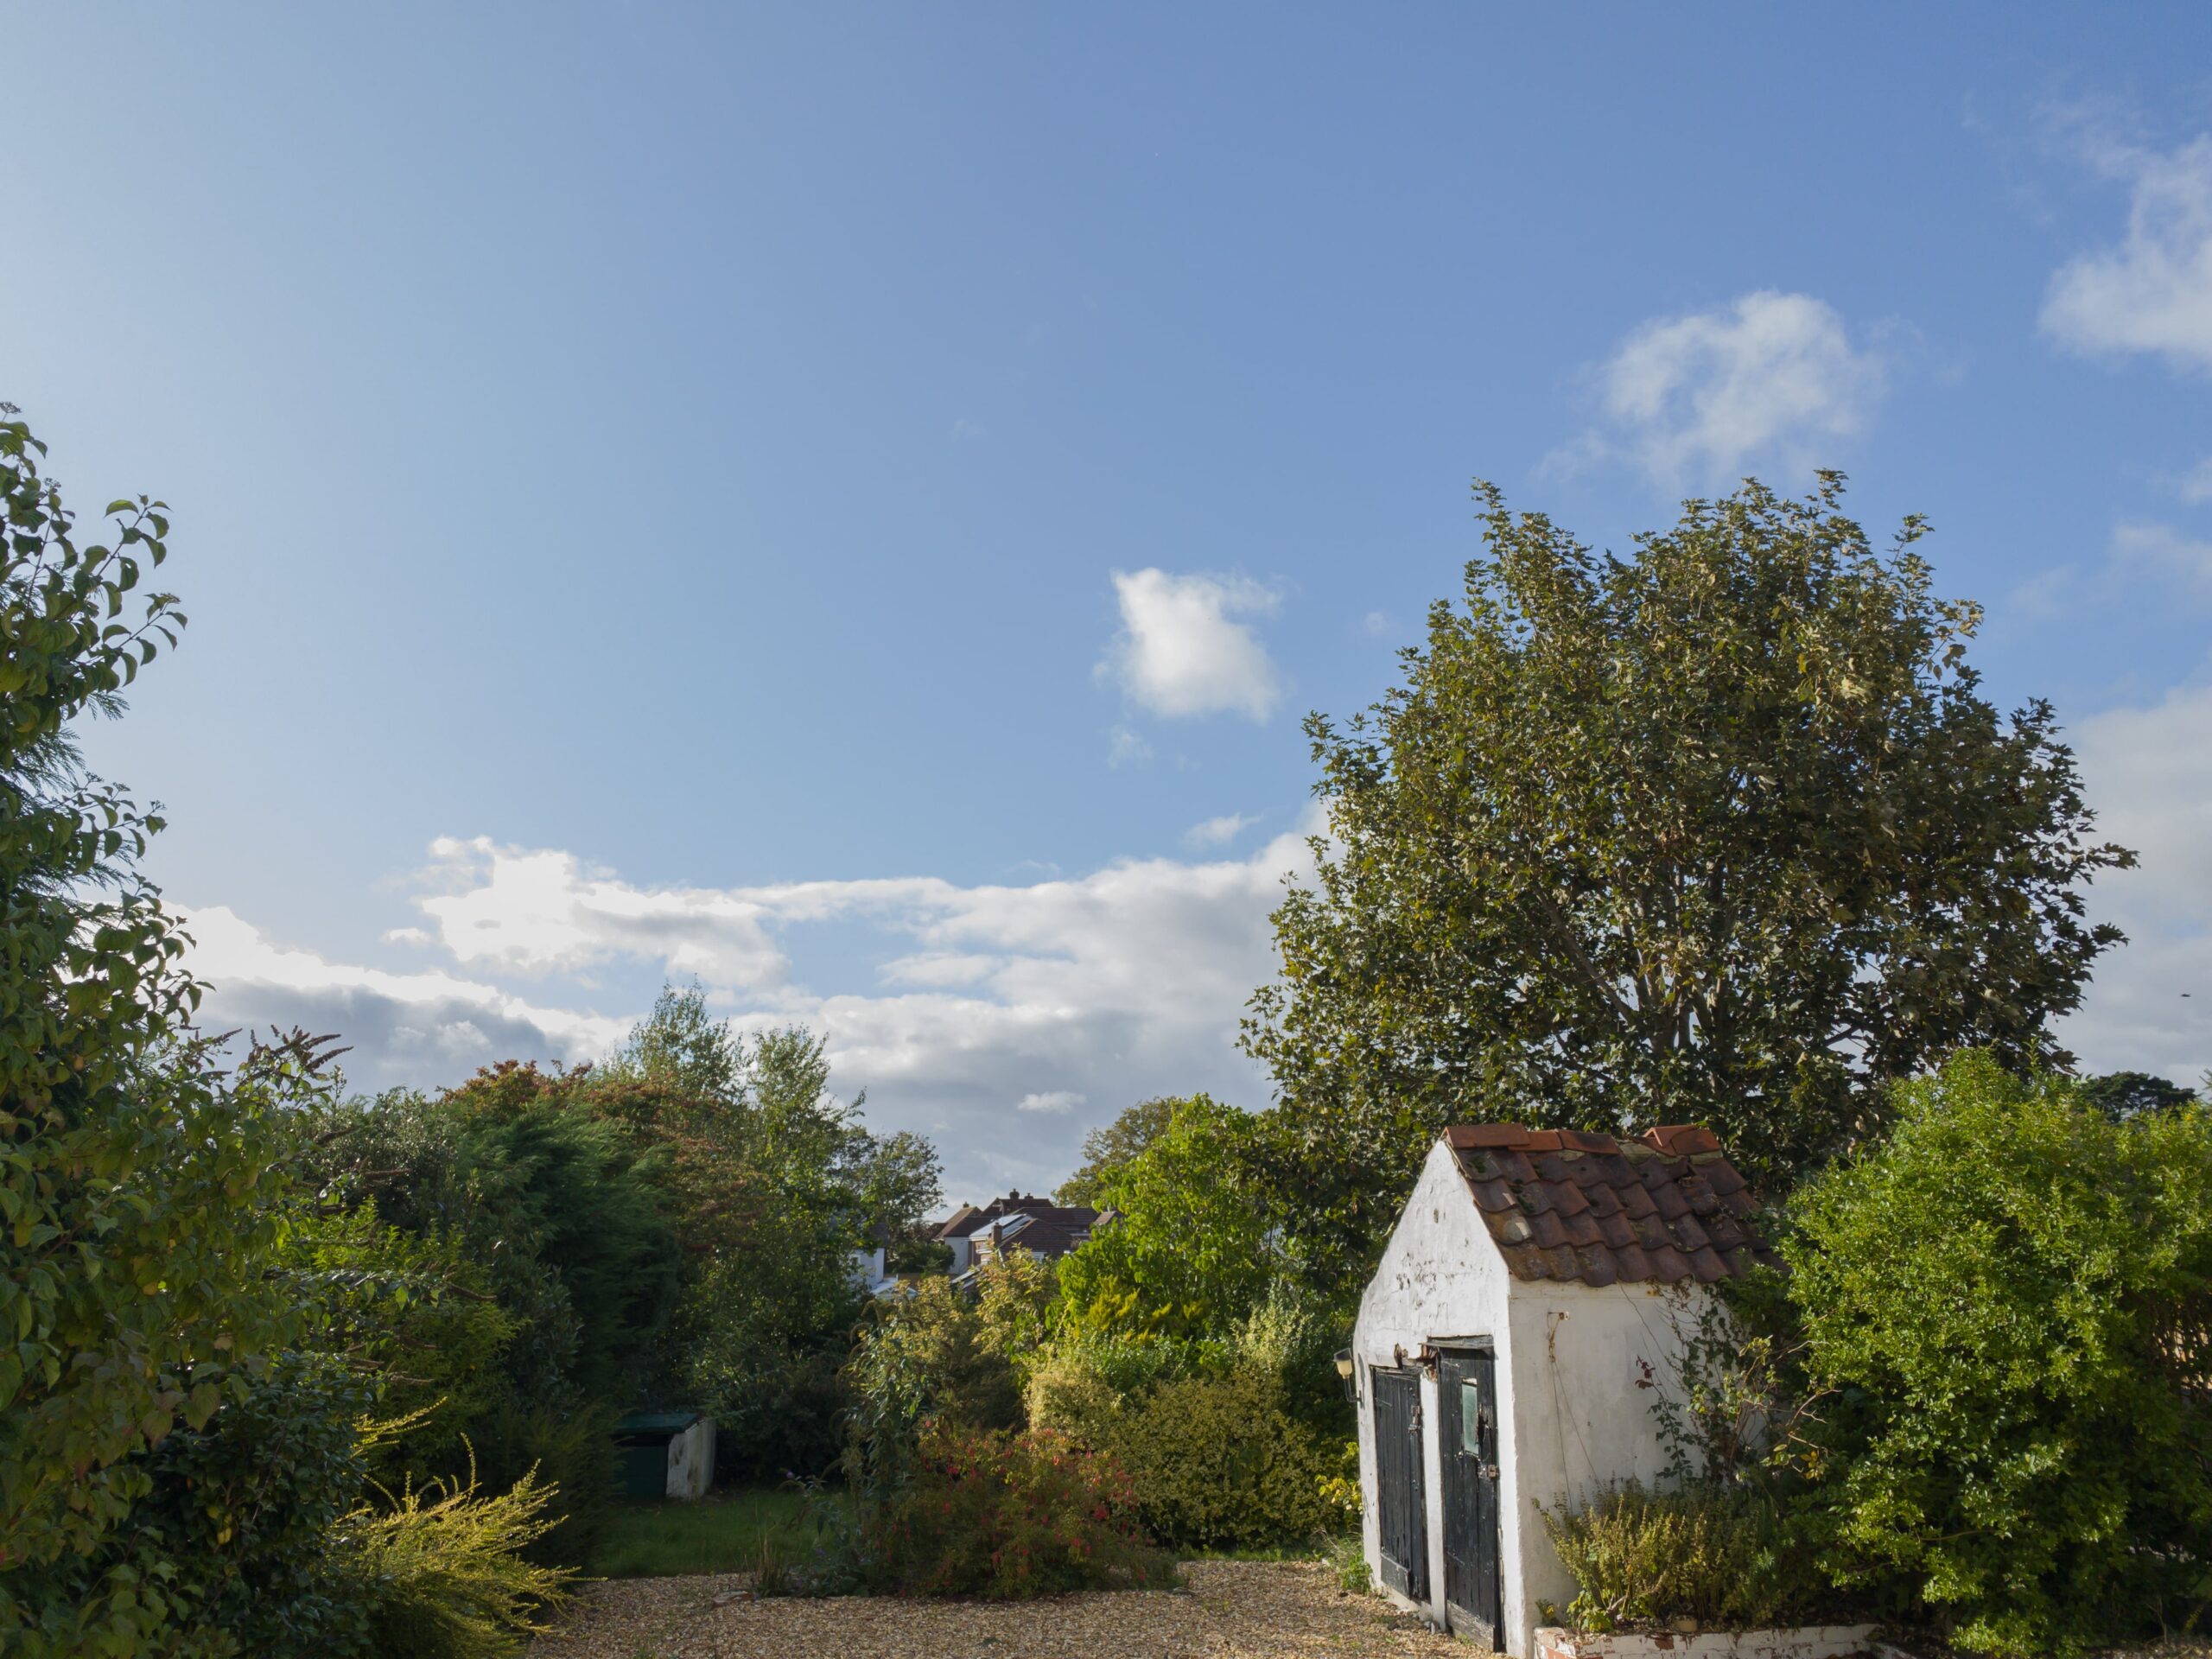
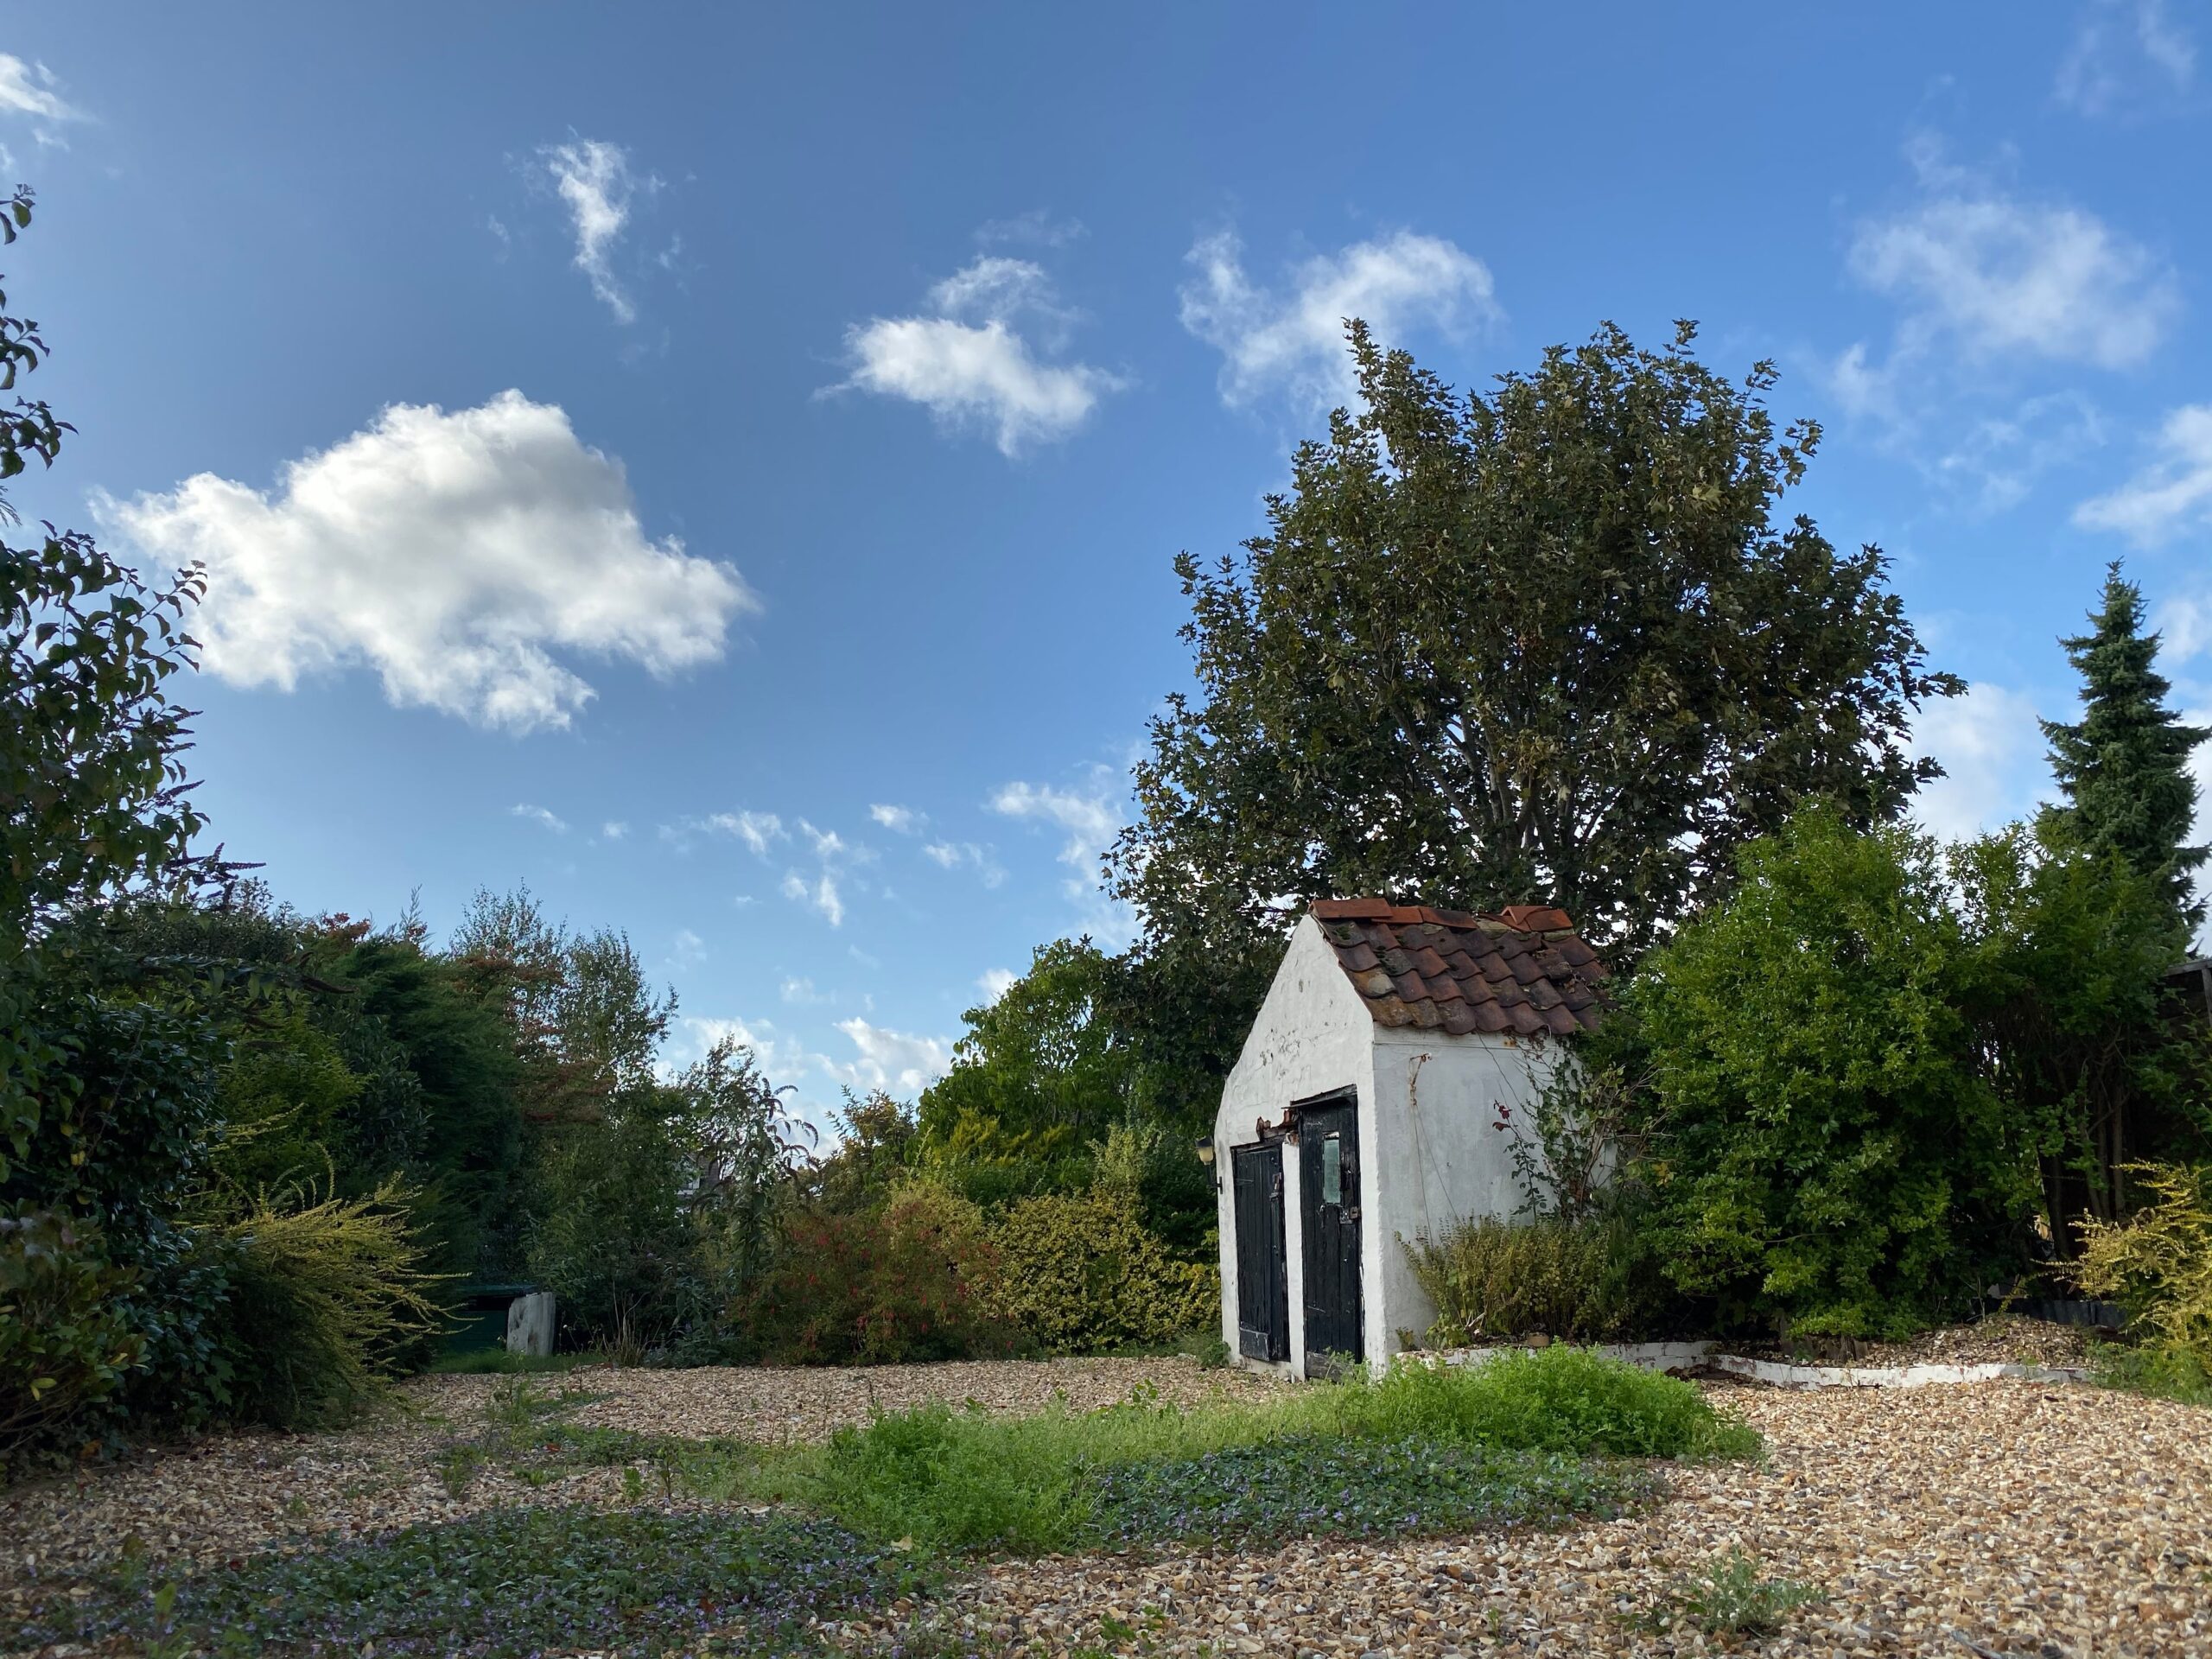
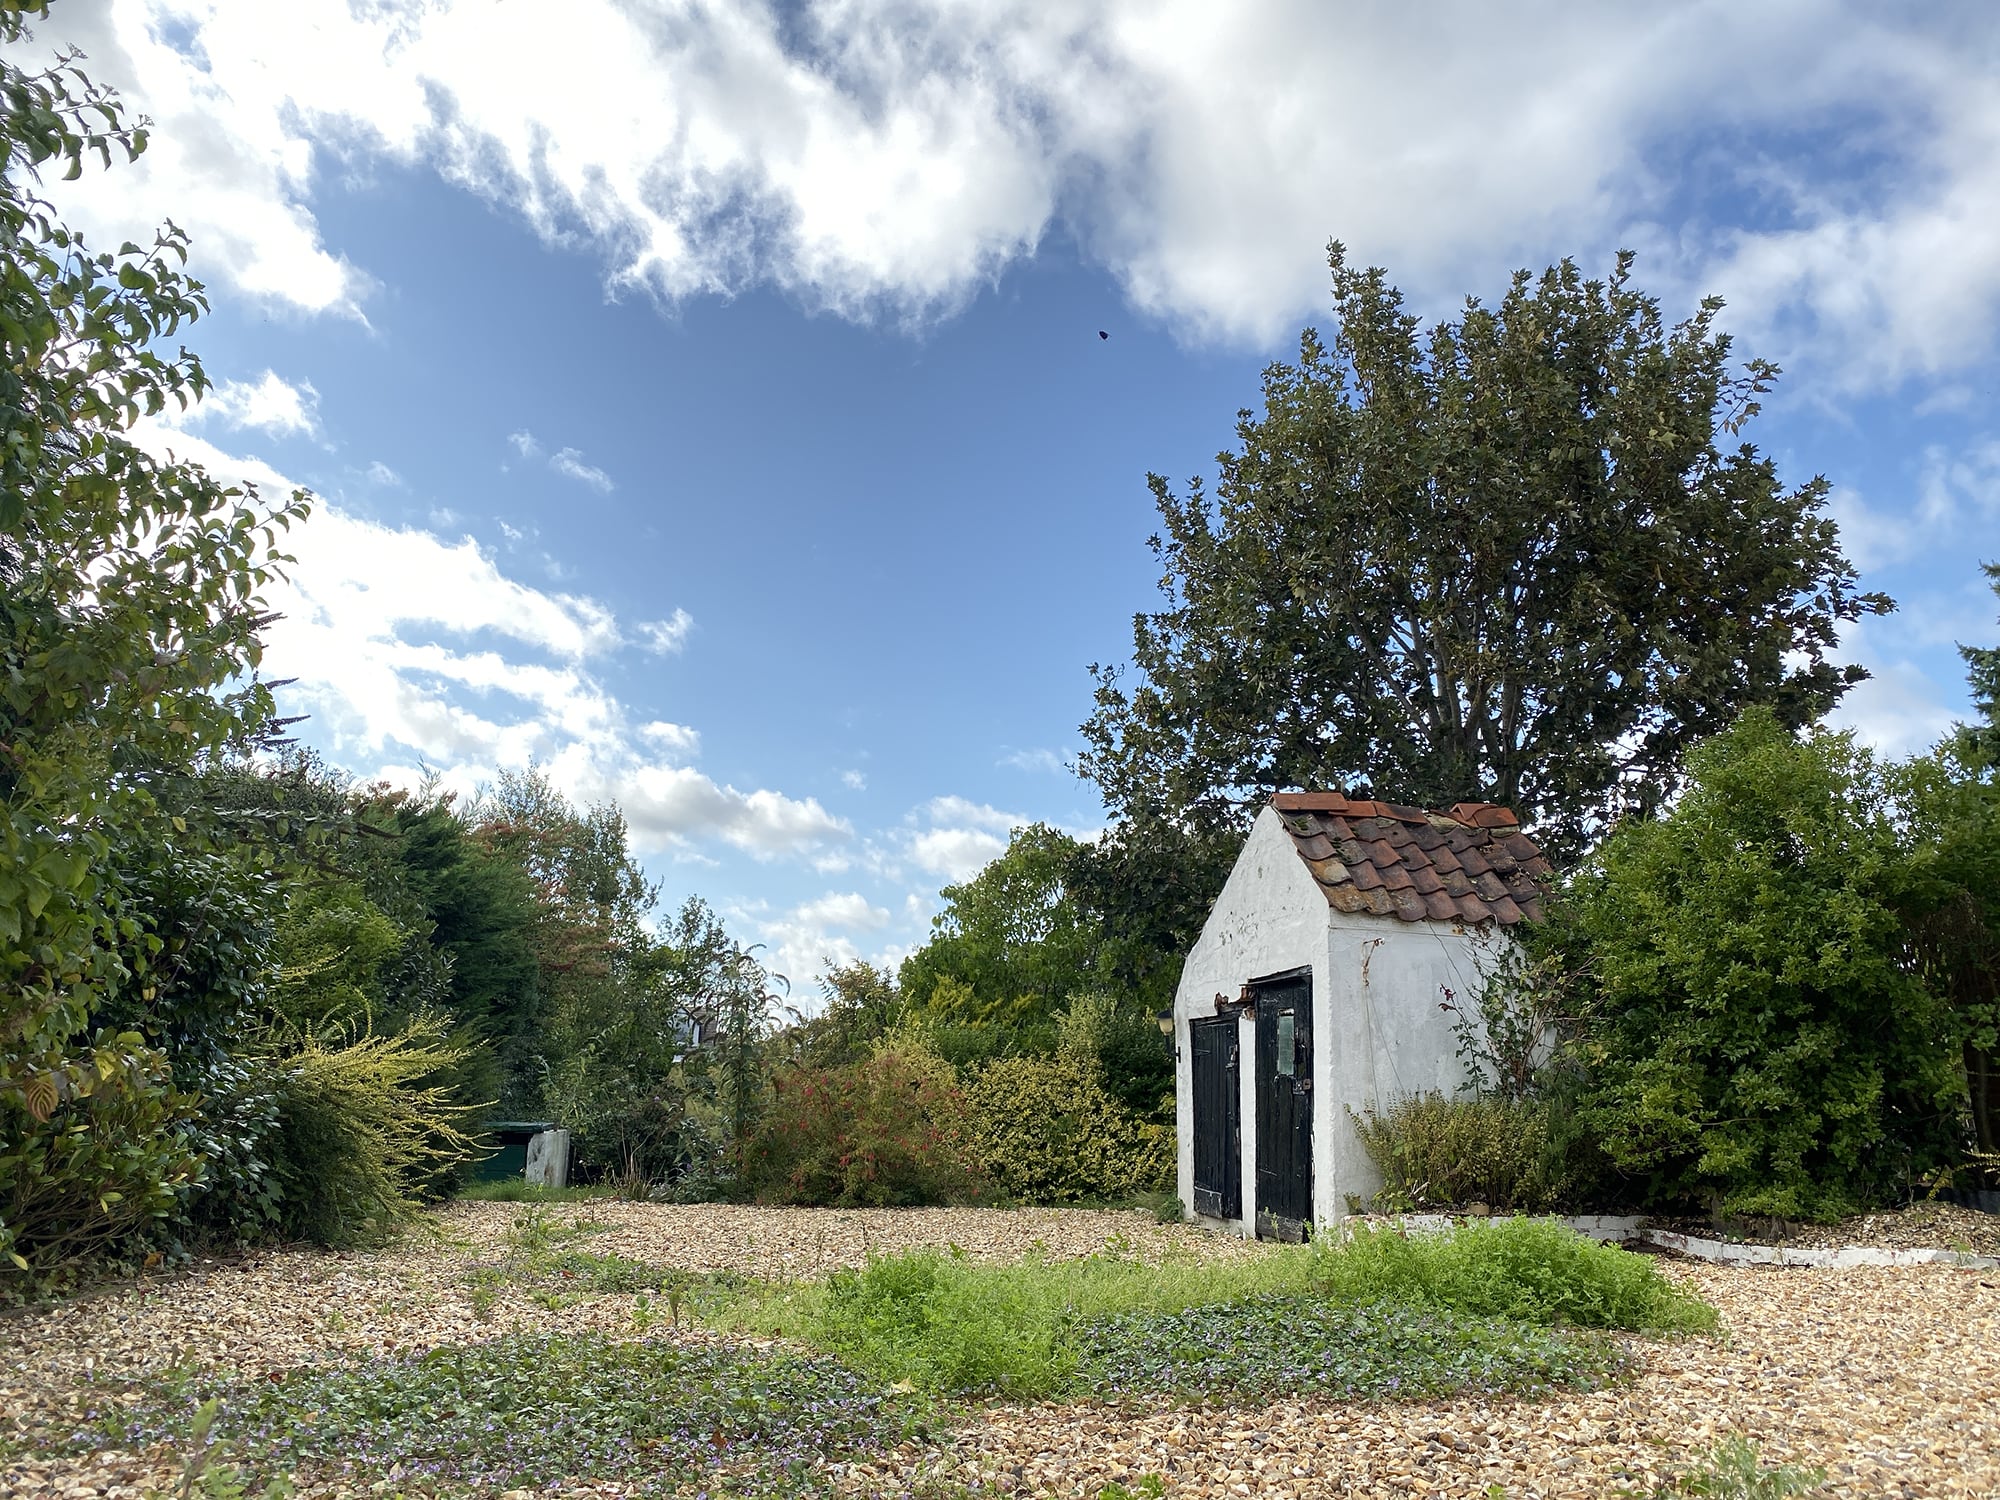
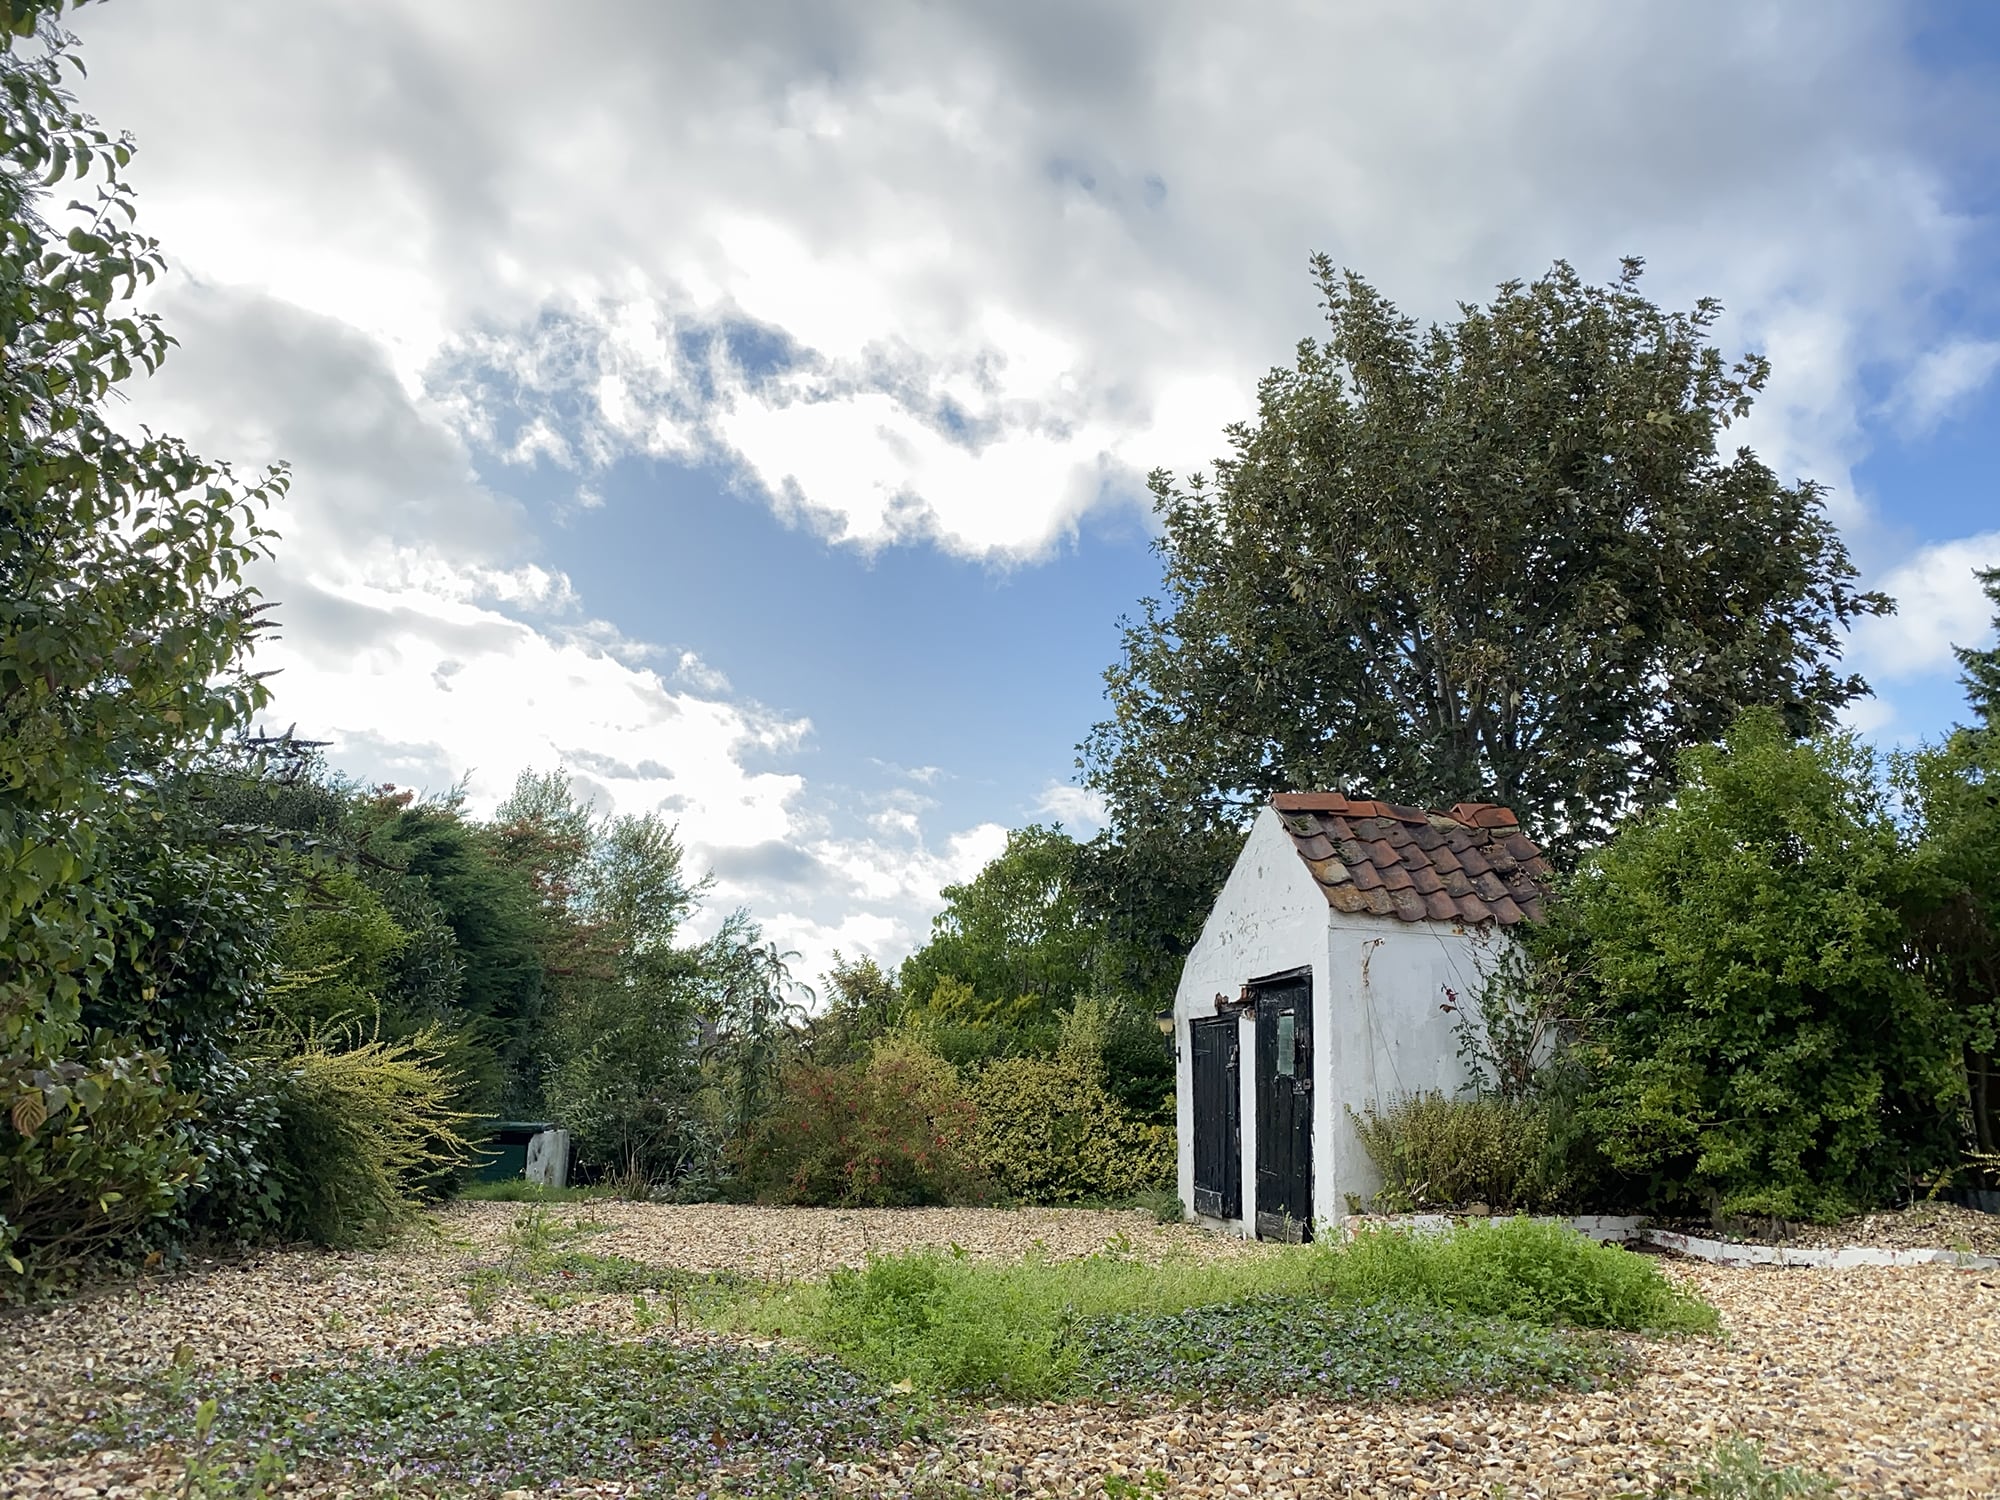
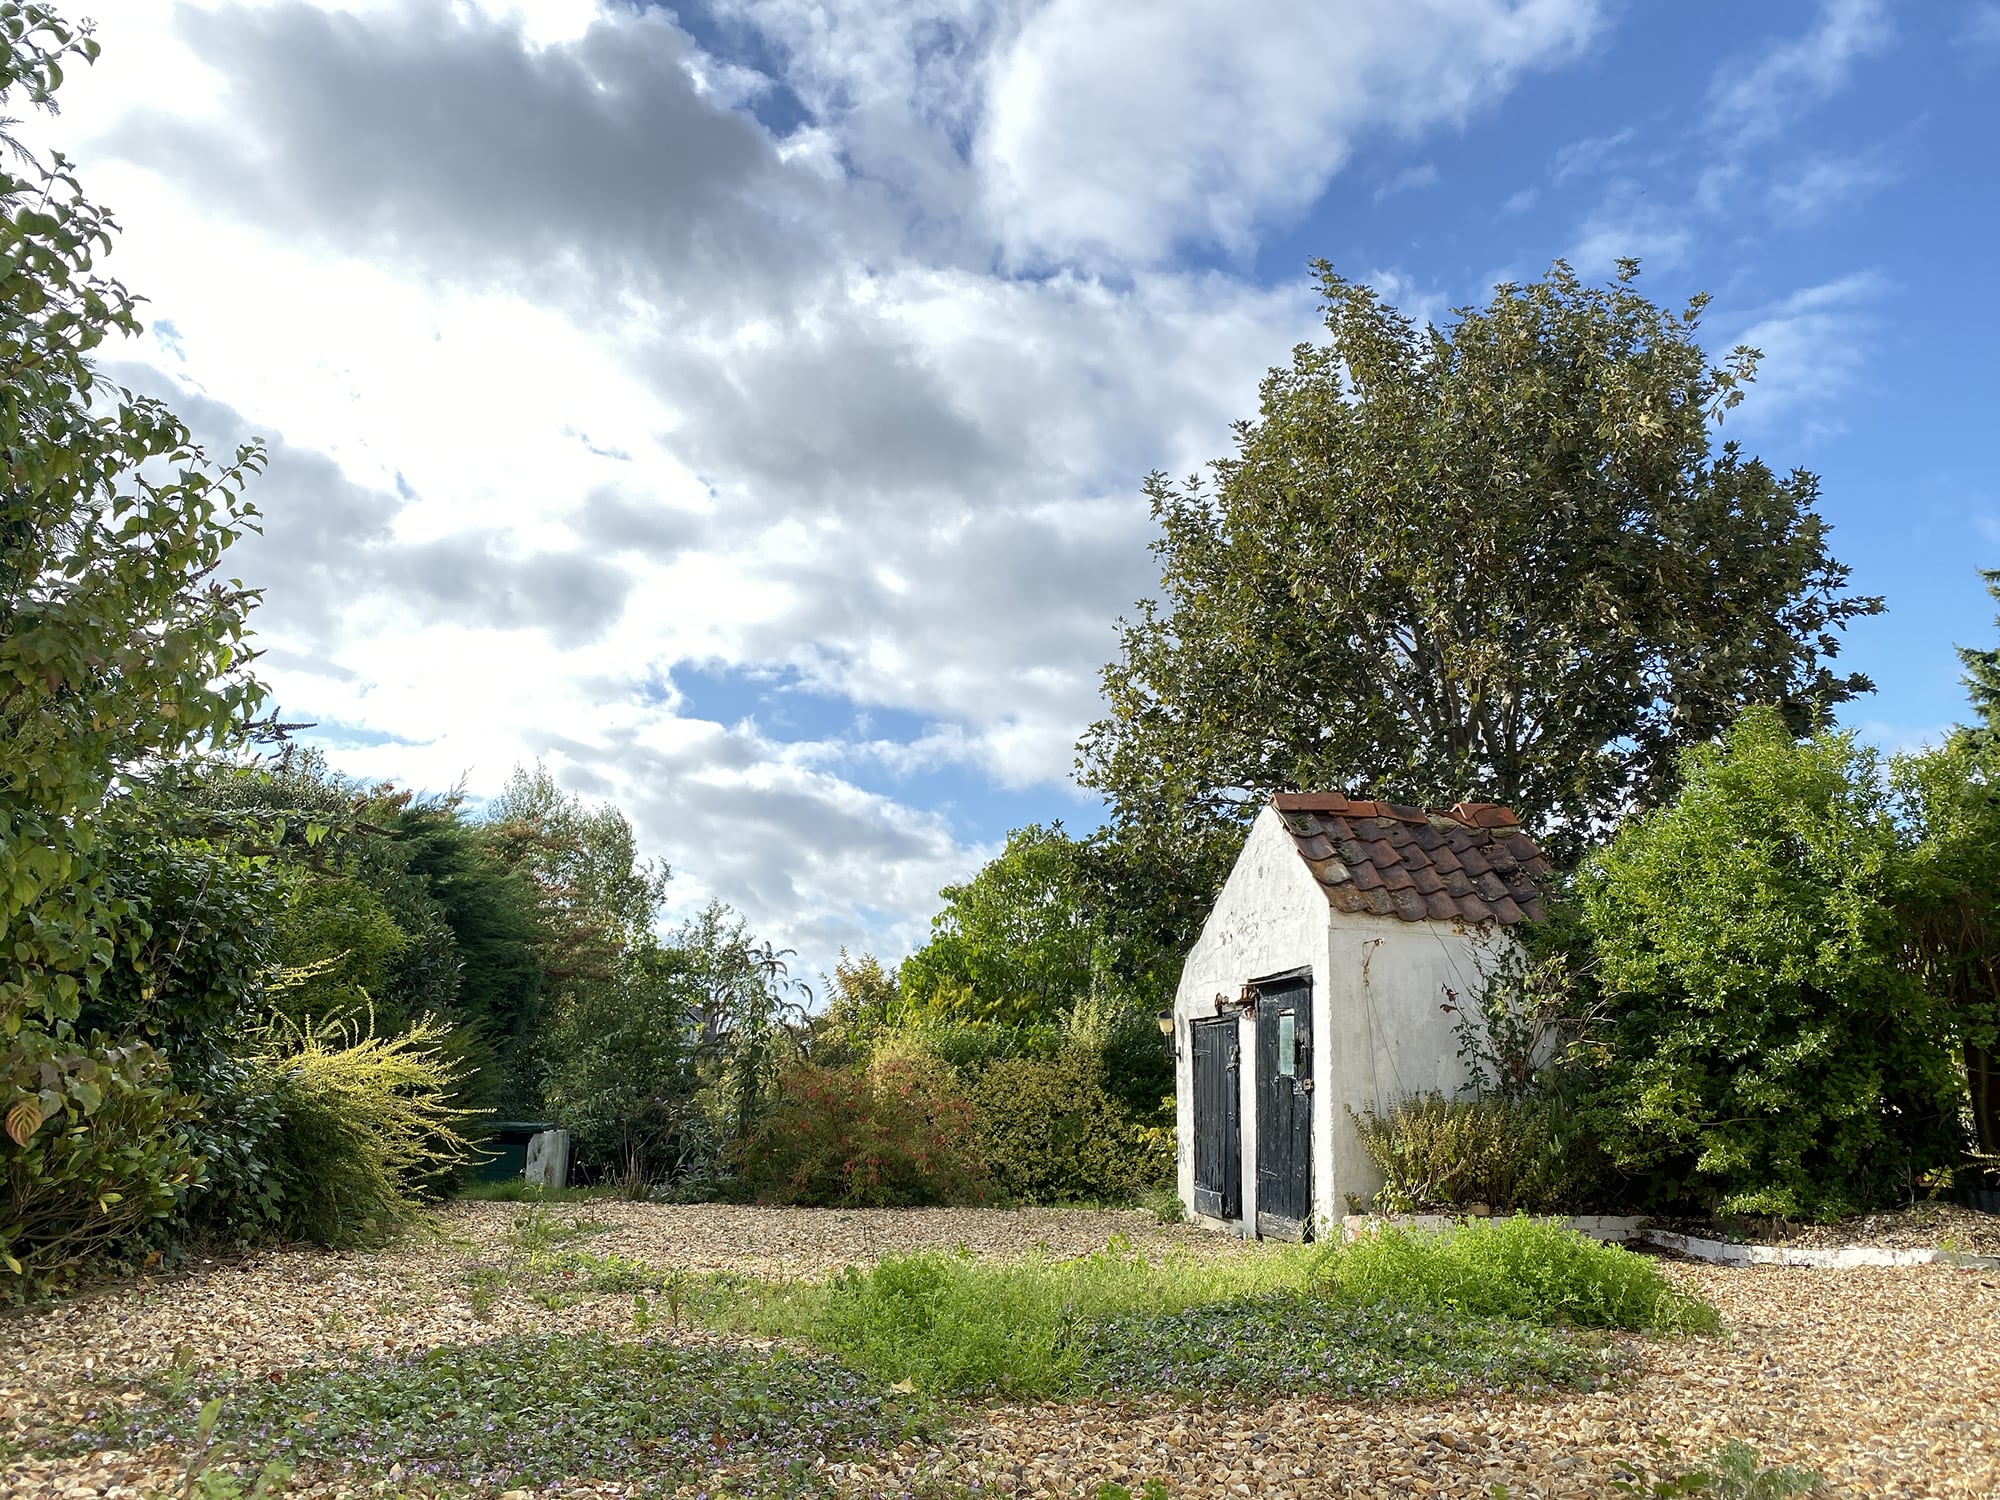
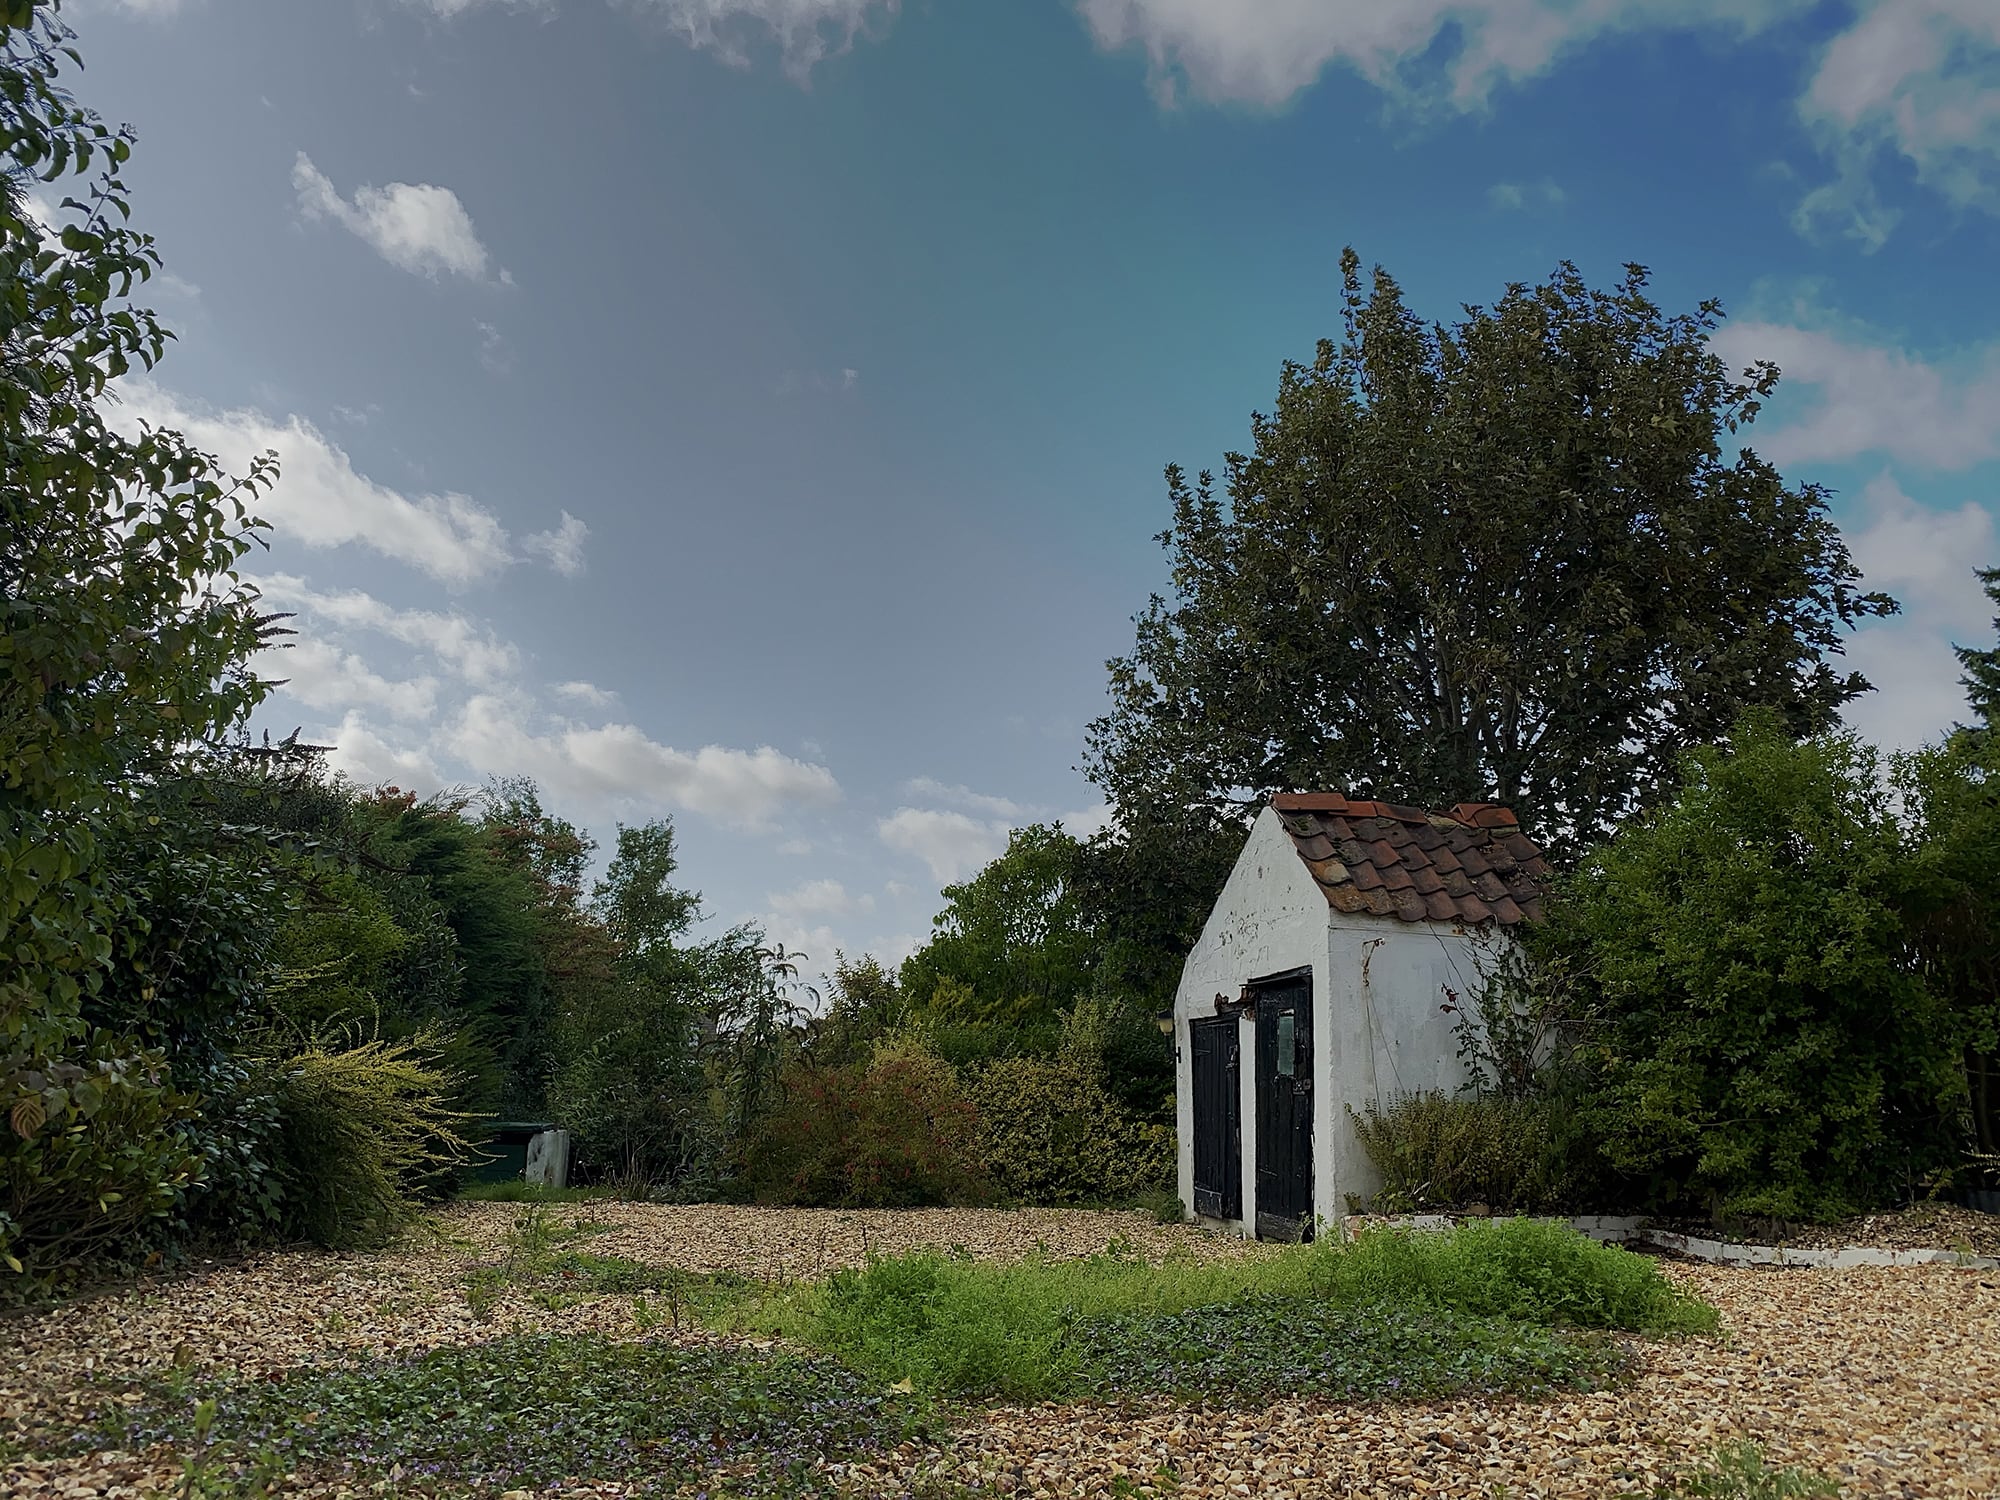
A bright cloudy blue sky with some foliage and a building is a pretty typical shot that almost everyone will have taken at some point. I didn’t touch the ISO or shutter and just let the camera decide. Although its nice to have control over this, having an app that is capable of deciding the correct exposure settings and balancing the image is pretty crucial.
As you can see the results vary drastically. I will apologise in advance if I am somehow doing something incorrect that is producing some of these results.
Lets start with the worst
Pro Camera
Moment
Halide
All of these show a lack of HDR ability, which for most people will be up there with the most important feature. And for me it is probably the number one. I was all of that processing power doing the bulk of the work, giving me a balanced and ‘flatter’ image for me to work from in photoshop. I cant accept major blown highlights like you see in these images.
Pro Camera does have a special HDR mode but that’s an additional £3.99 purchase, after buying the app for 5/6.99. They say it’s the best hdr on the market but I’m not sure I want to bother finding out. They also change for a special night more at the same price. But I think I’ll leave it as it’s hardly anywhere near the best app at this point.
The next is just plain odd: ProCam 7
This app has exhibited issues throughout the shooting experience, which is a great shame as I loved the interface. You can see the botched colours and awful blending. It’s trying to blend the shots into a HDR image but its doing a bad job. This could be due to there not being an iPhone 11 update. Watch this space.
Manual and Lightroom are very similar. Lr is the warmest but it could be due to changes in light. They are both perfectly exposed, have no or almost no blown highlights and nice colours, albeit a bit yellow.
Lightroom JPG
Manual
Apple. Well overall this has the truest colour, the best blend and most natural looking HDR, but potentially every so slightly less detail and less noise, but we are splitting hairs.
It is clear to see that apple, manual camera and lightroom are the best for HDR and the others really are sub par. For a balanced image that is easy to work from, the standard camera app is again hard to beat noise, but we are splitting hairs.
How to get the best image quality, currently?
Bright Daytime Conditions:
1st. Apple’s standard camera app – Smart HDR in HEIC format
2nd. LightRoom HDR
If you really want to push the post processing of your image. I would opt for the Lighroom HDR. It’ll give you a very flexible DNG file to work with and huge dynamic range. You will have to reduce noise and sharpen your image carefully.
Even light and indoor:
1st. Apple, Halide, Manual Camera and Lightroom Mobile
There is less difference here between all options. The stock app lets you occasionally force it into night might giving loads of detail. But otherwise I’d recommend ISO 80 in either RAW or JPEG. HDR mode from Lightroom is another option, especially if you want to post process the image significantly.
Again, though, if you want to do more serious post processing Lightrooms HDR RAW is best.
Deep fusion will make this far clearer and I will update this review once that is properly released to all users.
Low light and Night:
1st. Apple’s camera app
2nd. Just don’t take the photo
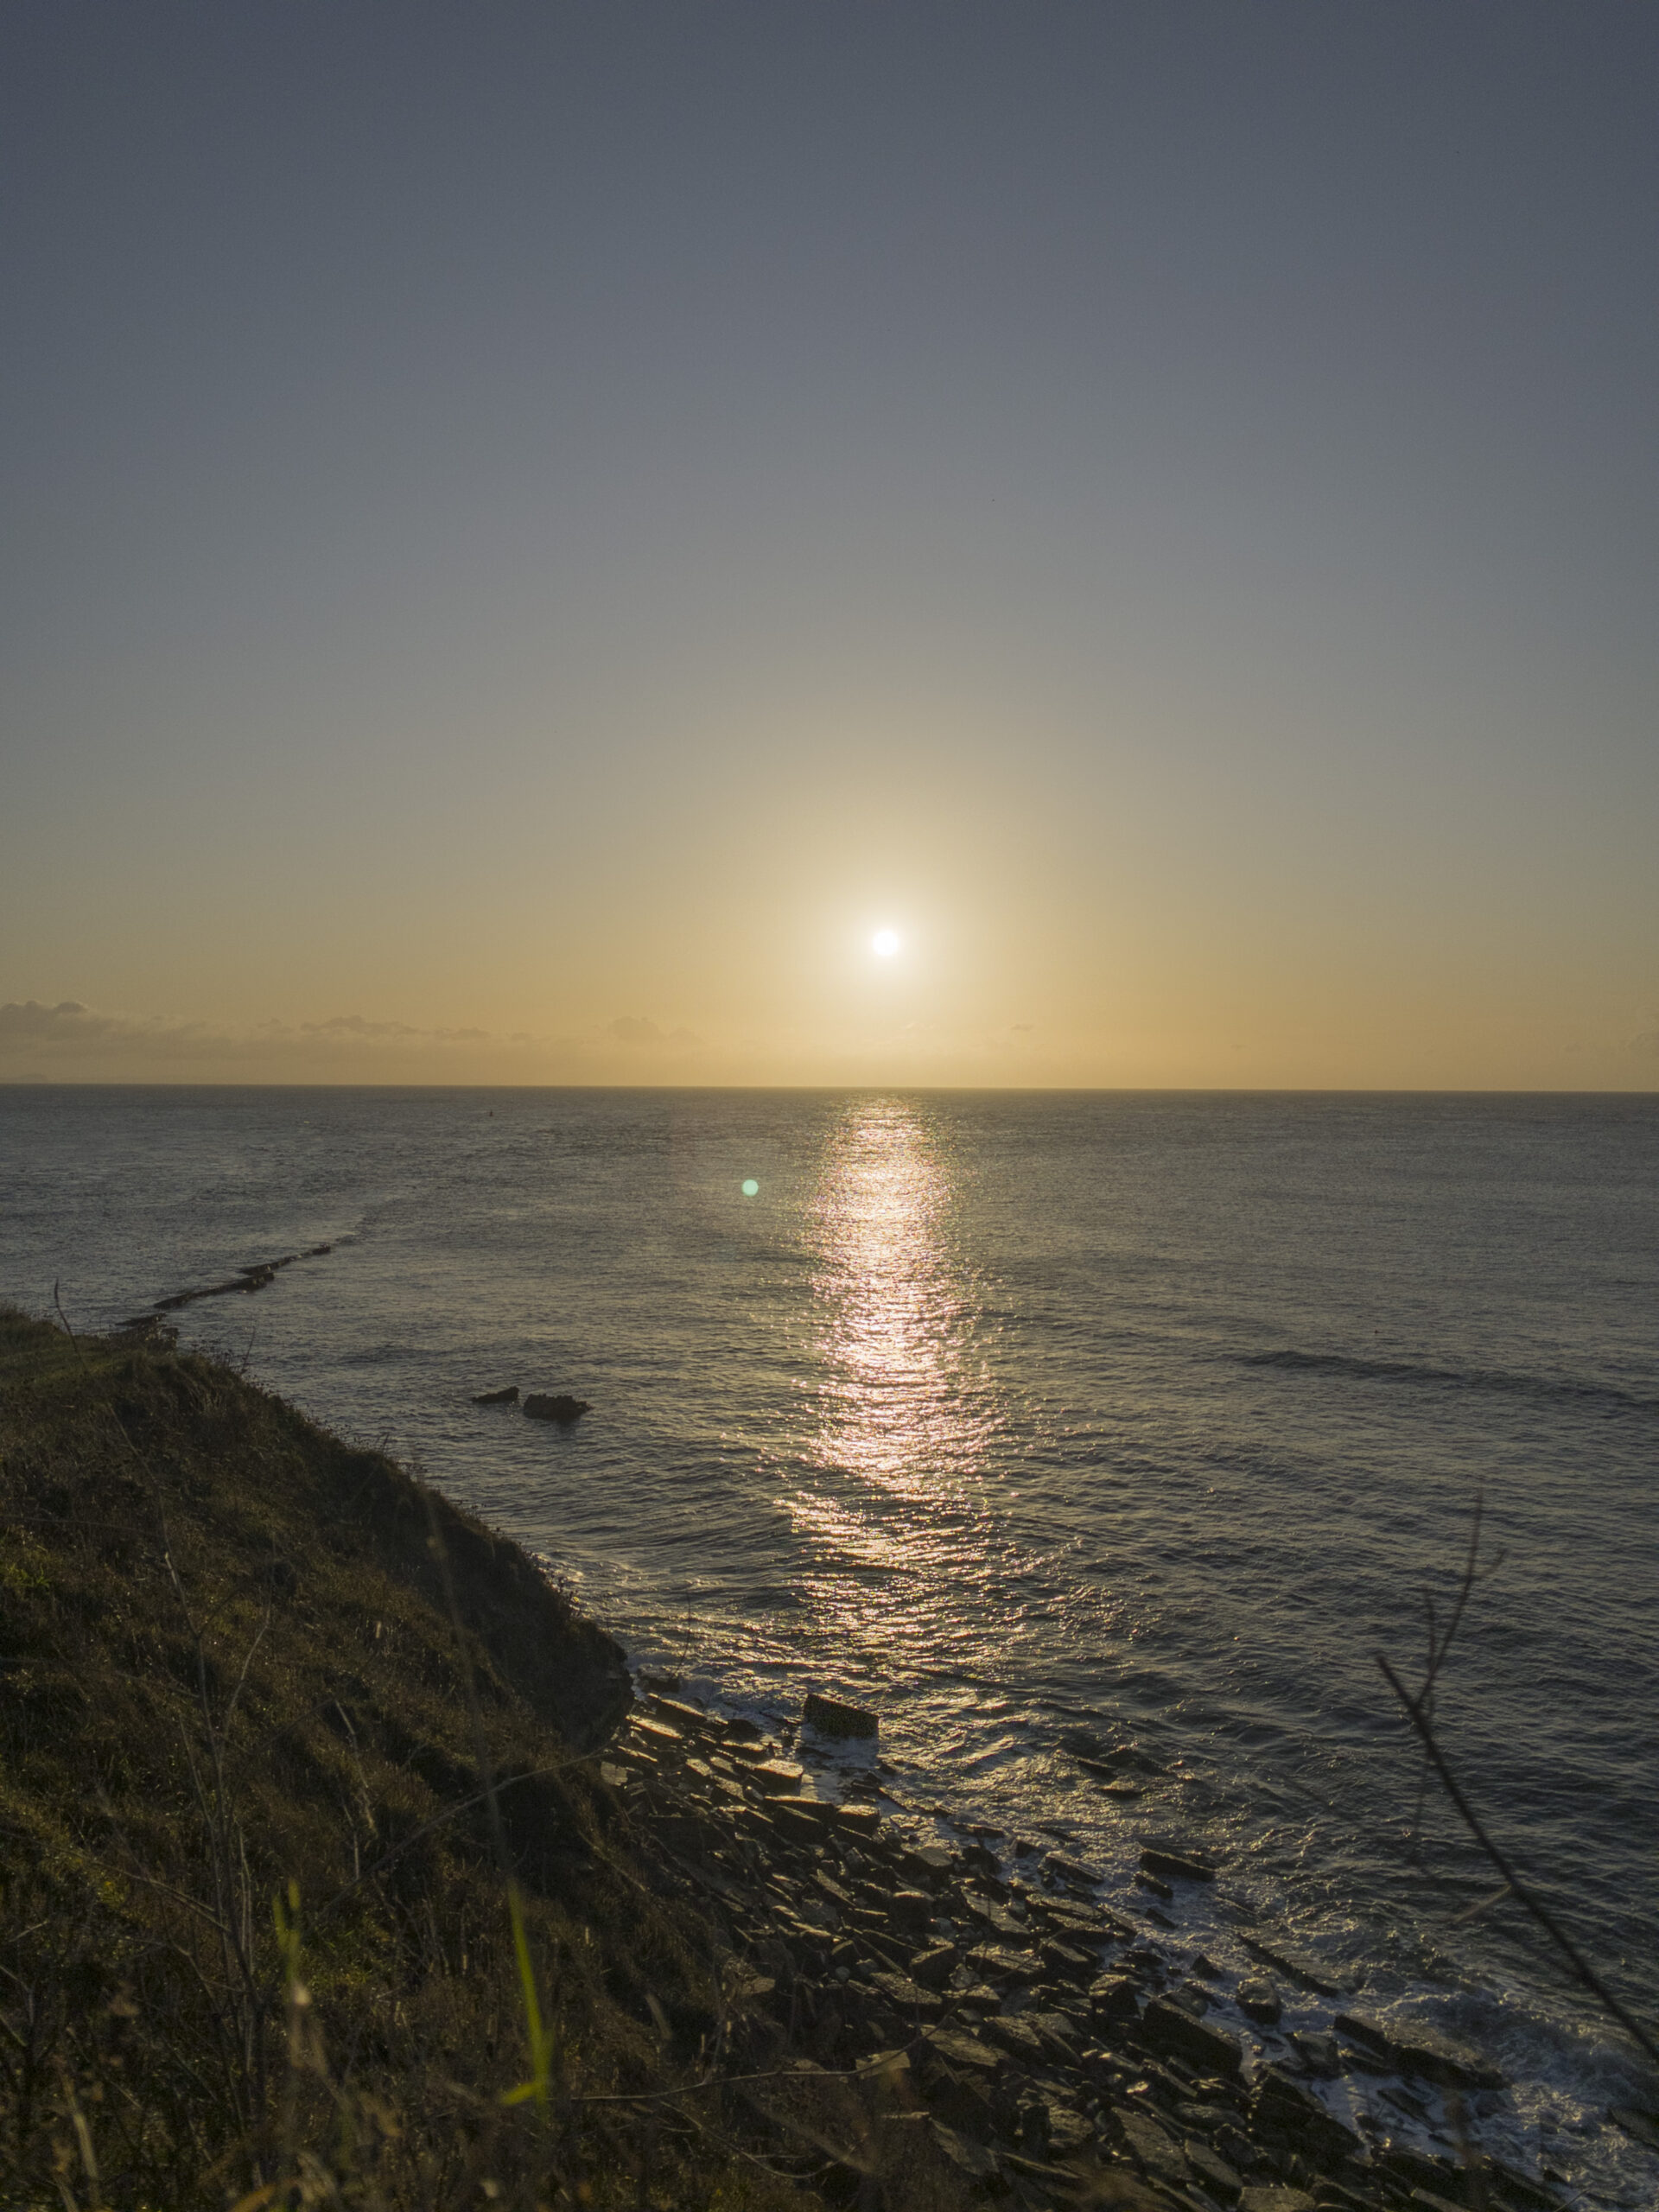
No competition here. Apple has made a fuss of their new feature for a reason. See below for a rough idea of night mode vs no night mode.
Disclaimer: The text below will link through to amazon and are paid affiliate links.
Is the iPhone 11 for you? Buy it here from my Amazon or Carphone Warehouse affiliate links
I feel I can say with confidence, that to get the best image quality currently possible from the iPhone 11 or 11 Pro I will be predominantly the Apple camera app and the Lightroom Mobile app. I will not be shooting any (single) RAW images. It really is a waste of time unless you have a very evenly lit scene. But even then you will lose the computational functions and will get an abundance of noise that you have to remove manually. Lightroom, as a free app, is a complete no brainer, even for me who never uses the Lightroom desktop programme.